Folders only display in Mobile Voice.
They do not appear in nVoq Voice or the nVoq Wireless Microphones.
nVoq client users without an Admin Role can edit their own account folders on the Shortcuts page.
Users with an Administrator Role can edit both account and organization folders.
- Go to the Shortcuts page in nVoq Administrator.
- Optionally, click the Manage icon in the sidebar to hide the sidebar while you work.
- Select the appropriate organization from the organization menu at the very top of the screen.
- Navigate this menu by using the Expand All button to open all organizations, by clicking the > arrow next to each organization level to open it, or by typing an organization name in the Filter text field.
- Navigate this menu by using the Expand All button to open all organizations, by clicking the > arrow next to each organization level to open it, or by typing an organization name in the Filter text field.
- Select the appropriate radio button to edit a shortcut for an account or an organization:
Edit Account Folders
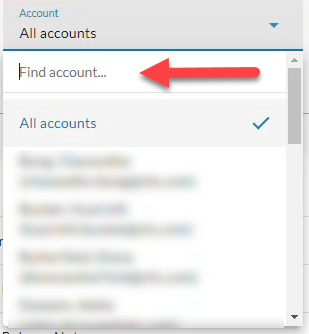
- Select the Account radio button.
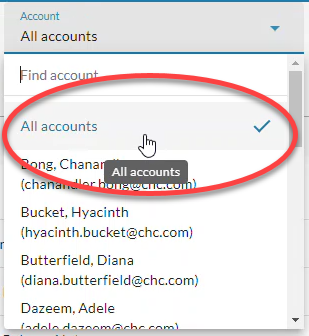
- Then select an account from the Account menu, or select All Accounts.
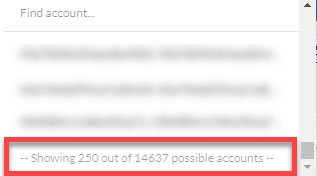
- The menu will display a maximum of 250 accounts. If there are more than 250 accounts in the selected organization, the bottom of the menu will say, "Showing 250 out of [#] possible accounts."
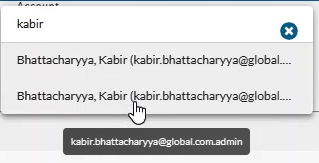
- To see shortcuts and folders for an individual user account, type part of the person's name in the the Find Account field. This will find any account that exists in the selected organization, even if it is not displayed in the menu.
- If the username is cut off, hover your mouse over the name to see the username in a tooltip.
- If you want to see all user account shortcuts and folders for all users in the organization selected at the top of the page, select All Accounts.
- The menu will display a maximum of 250 accounts. If there are more than 250 accounts in the selected organization, the bottom of the menu will say, "Showing 250 out of [#] possible accounts."
Edit Organization Folders
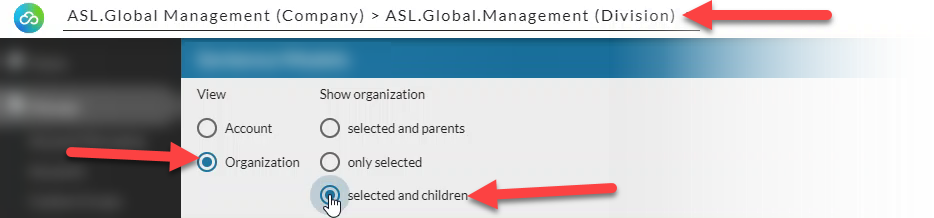
- Select the Organization radio button.
- Then select the appropriate Show Organization radio button to view existing shortcuts for the selected organization:
- Choose selected and parents to see shortcuts created for the organization selected in the Organization menu and all parent organizations above it.
- Choose only selected to see shortcuts created for only the organization selected in the Organization menu.
- Choose selected and children to see shortcuts created for the organization selected in the Organization menu and all child organizations below it.
- If the option you want to see is already selected when you first bring up this page you may need to select a different option and then re-select the option you want to view in order to display the selection.
Only shortcuts that were created in the selected organization or parent organizations of the selected organization can be added to a folder.
For example, you cannot add shortcuts created in a group to a division level folder.
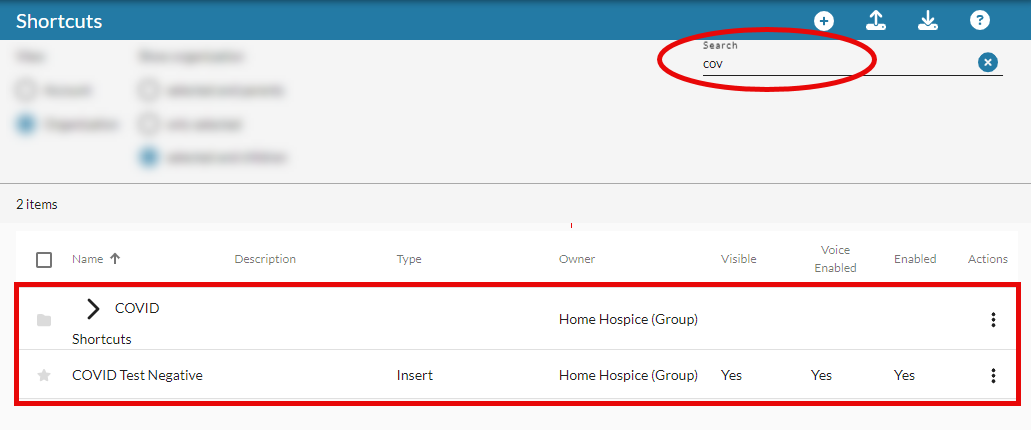
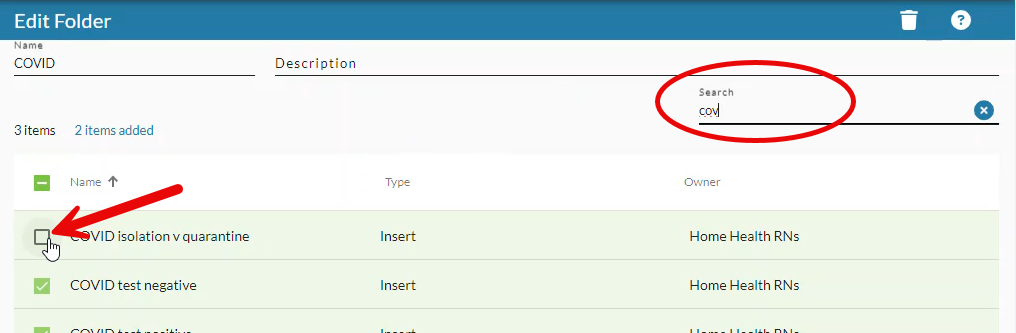
- If needed, use the Search field at the top right of the page to search for a folder.
- Enter all or part of a word or name. Shortcuts and folders that match the text entered appear on screen.
- Enter all or part of a word or name. Shortcuts and folders that match the text entered appear on screen.
Client-only users will NOT be able to edit organization shortcuts.
Users with an administrator role of Customer Administrator or Shortcut Designer NOT be able to edit organization shortcuts above their Admin Level.
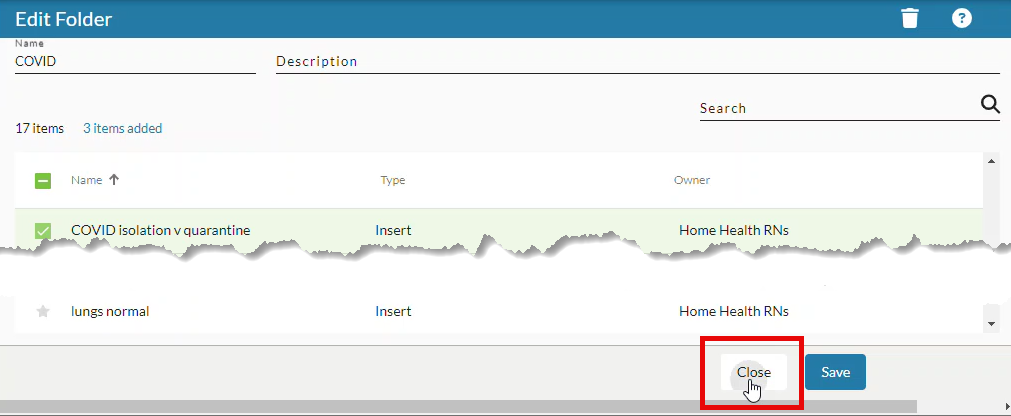
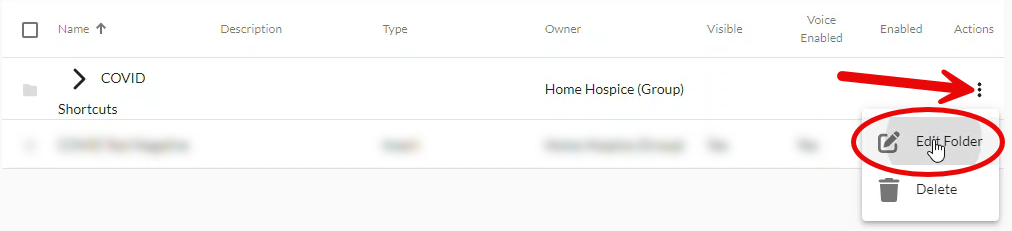
- Once you find the folder, double-click on the name in the table OR click the Actions menu and select Edit Folder.
- Make changes to the folder: Change the folder name or description or Add or Remove Shortcuts from the Folder or Delete the folder.
- You cannot edit shortcuts from this screen; only folder name, description, and shortcuts inside.
Change a Folder Name or Description

- Delete or type over text in the Name and/or Description field. If you give a folder the same name as a user's account folder, the user will see both the organization folder AND the account folder.
- There is a 45 character limit on the Name field.
- The folder name can be seen in Mobile Voice on the shortcut screen.
- There is a 512 character limit on the Description field.
- The description is visible in Mobile Voice to users who have the ability to run account (user) shortcuts.
Add or Remove Shortcuts from a Folder
- To add shortcuts to the folder, hover the mouse over the star icon beside the shortcut and put a checkmark in the box that appears. Shortcuts highlighted in green with a checkmark beside them are included in the folder. The number of items selected is listed at the top left of the shortcut list.
- To remove shortcuts from the folder, remove the checkmark from beside the shortcut. Shortcuts NOT highlighted, without a checkmark are NOT included in the folder.
Delete a Folder
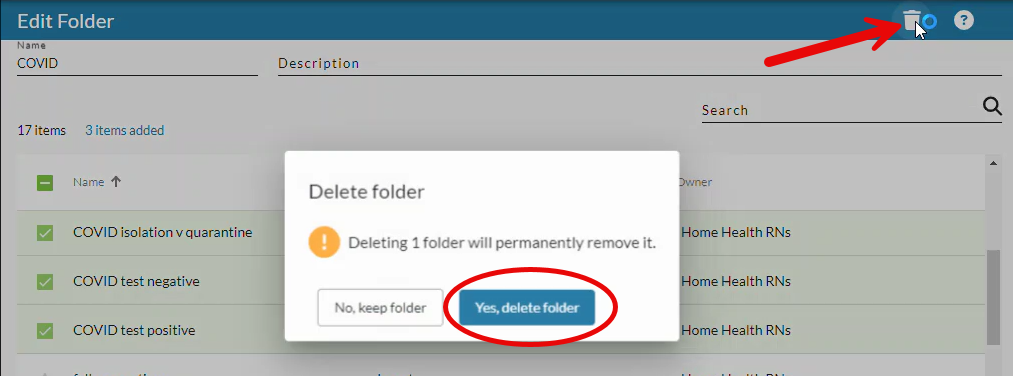
- While on the Edit Folder screen, click the Delete icon (trash can) in the blue toolbar.
- You will be presented with a confirmation that you will be permanently removing the folder you are viewing. To delete the folder, click the Yes, delete folder button.
- This takes you directly back to the shortcut/folder list. (Skip steps 5 and 6 below)
- Click the Save button at the bottom of the screen to keep your changes.

- When you're done making and saving changes, click the Close button at the bottom of the screen to go back to the shortcut list.