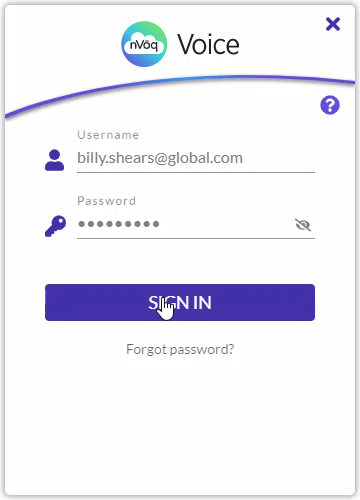
- Launch and log in to nVoq.Voice.
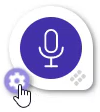
- Click the gear icon on the lower-left side of the dictation button to open the Settings window.
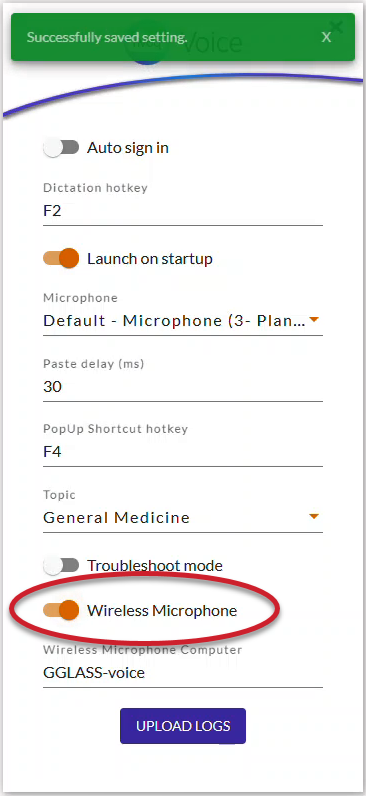
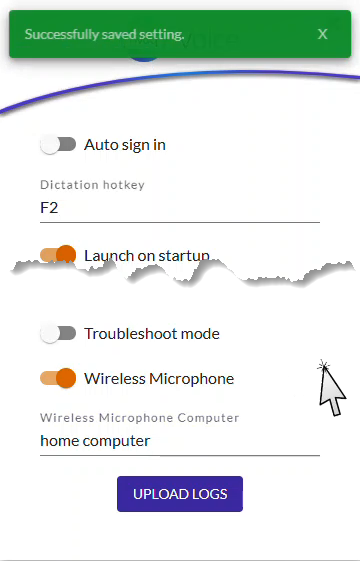
- On the Settings screen, enable the toggle for Wireless Microphone so that it turns orange. (Selecting this toggle will automatically save the setting, and you'll see a green "Successfully saved setting" message at the top of the screen.)
- Optionally, type a new name into the Wireless Microphone Computer field to change the name of the computer on which you're using nVoq.Voice.
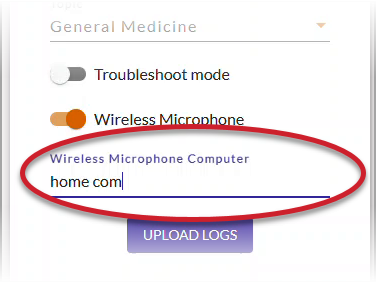
- Click on a blank part of the Settings screen until you see the green "Successfully saved setting" message at the top of the screen to save your new computer name.
- You're all set! Sign in to the Wireless Microphone on your device.
(If you haven't installed the app yet, be sure to install the nVoq Wireless Microphone on your device.)
Next Step...Install the App