
Use Conversation Capture to record and transcribe multi-speaker discussions, with your care team or patient. Capture details in real-time so you can stay fully present and engaged in the conversation.
Use Conversation Capture
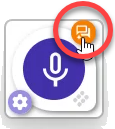
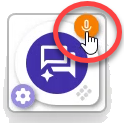
When conversation mode is enabled for your account or organization the conversations icon appears on the top right of the dictation button. Click the conversations icon to switch to conversation mode.
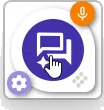
The conversations icon is now on the dictation button. Click the dictation button or the dictation key on your keyboard (F2 by default) to start recording.
A Consent to Record message appears on your primary monitor. Click the Confirm and Continue button to confirm that you have gotten permission from all participants to record the conversation and start recording.
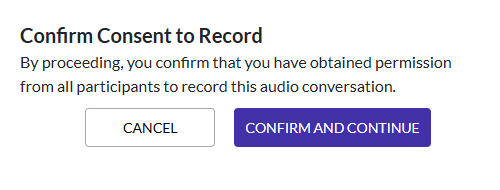
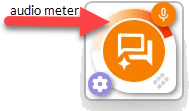
If you have not gotten consent from all discussion participants, click the Cancel button. Recording will not start.Recording starts automatically. Have a discussion with your patient. The speech bubble will not display your conversation, but Voice is recording when the button turns orange. You can tell Voice hears you when the audio meter (above the button) moves as you speak.
Those who are speaking should remain close enough to the microphone to be heard.
Be careful not to speak over one another.
For best results we recommend no more than 4 speakers.
Do not speak punctuation.
See About Conversations Mode for more information.
Click the dictation button or the dictation key on your keyboard (F2) to stop recording.
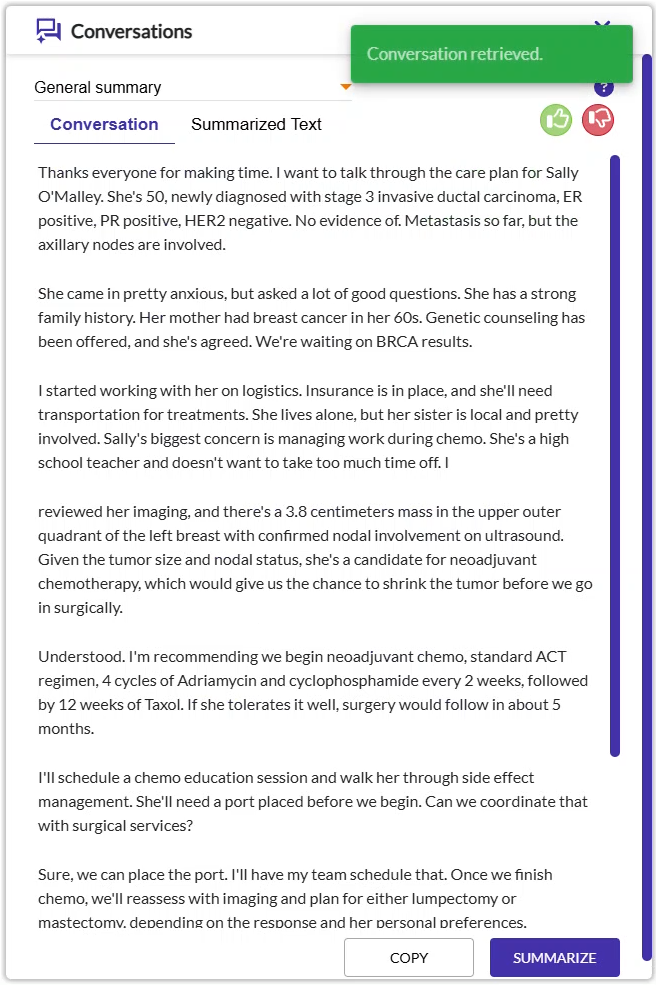
When recording is stopped, the Conversations window opens and your conversation is automatically displayed on the Conversation tab.
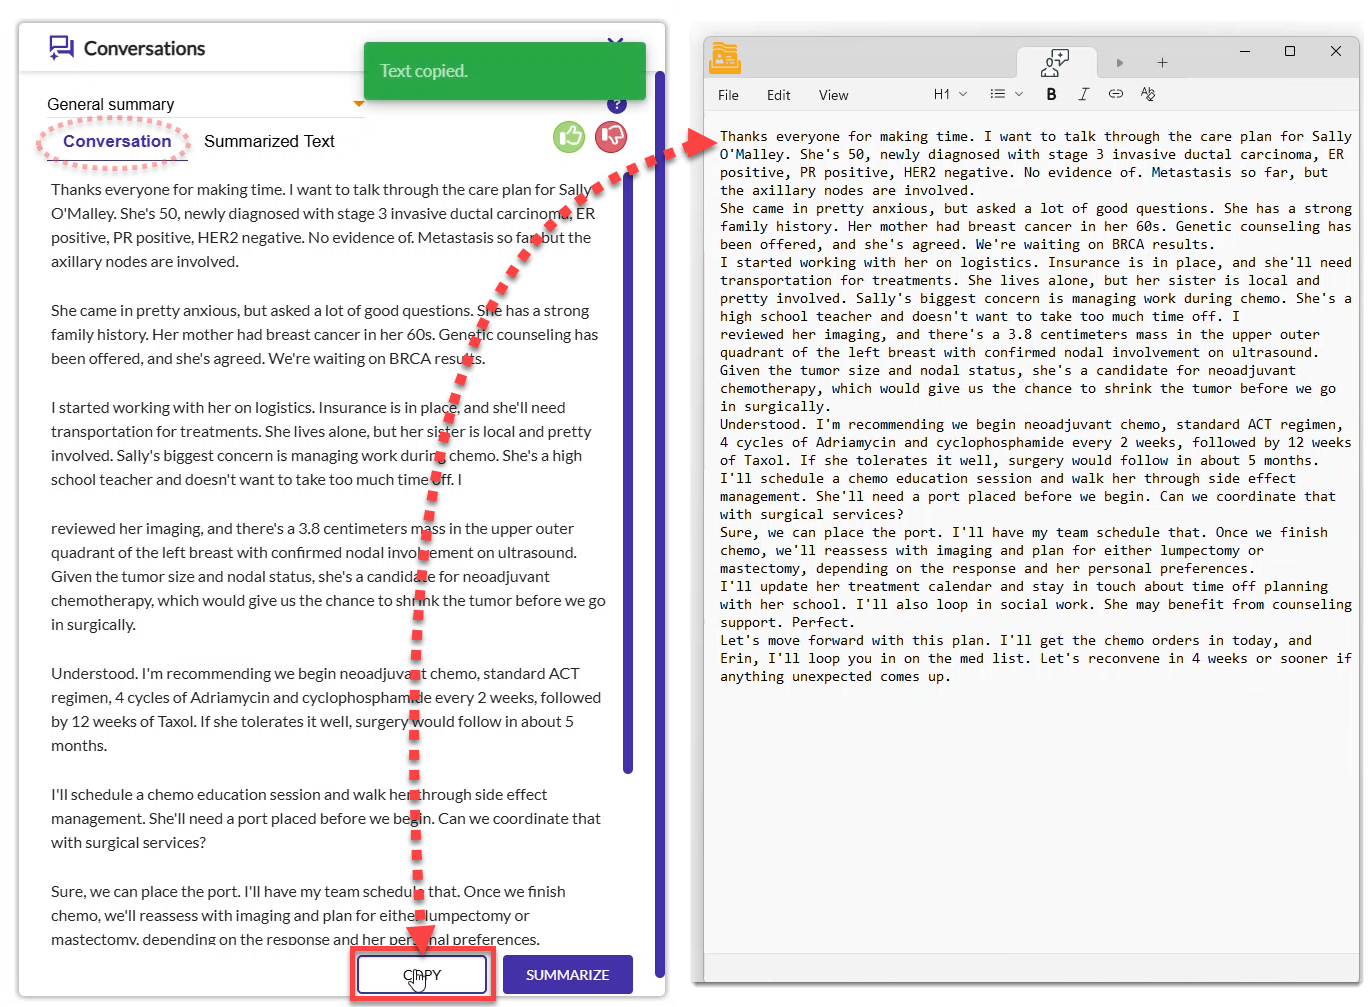
Optionally, click the COPY button on the Conversation tab to copy the transcript, which you can then paste into your system of record.
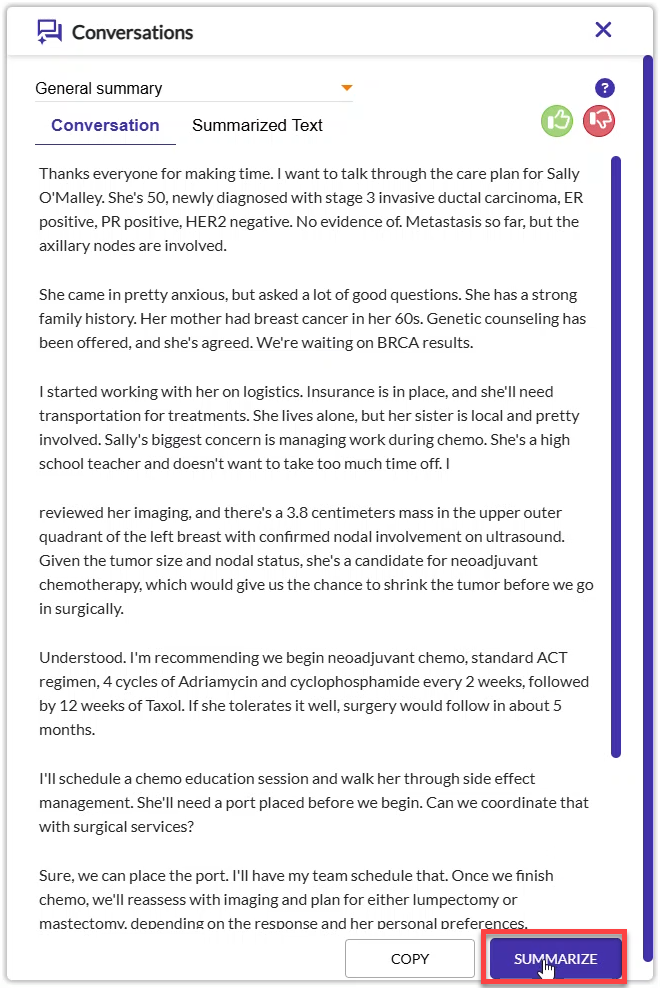
Select the appropriate type of summarization and/or formatting you’d like to see for the information in the conversation from the menu at the top of the window. For a summary of the conversation, choose General summary.
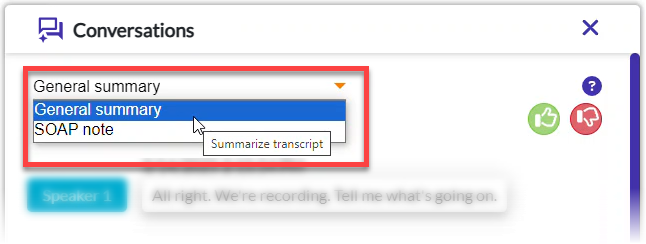
Premium Note Compose formatting options are available on this menu. This may include SOAP Note, as well as any custom options created in the Note Compose Designer in nVoq Administrator.
Click the SUMMARIZE button to get summarization/formatting selected on the menu at the top of the window. (If you selected “General summary”, you will get a summary of your conversation.)
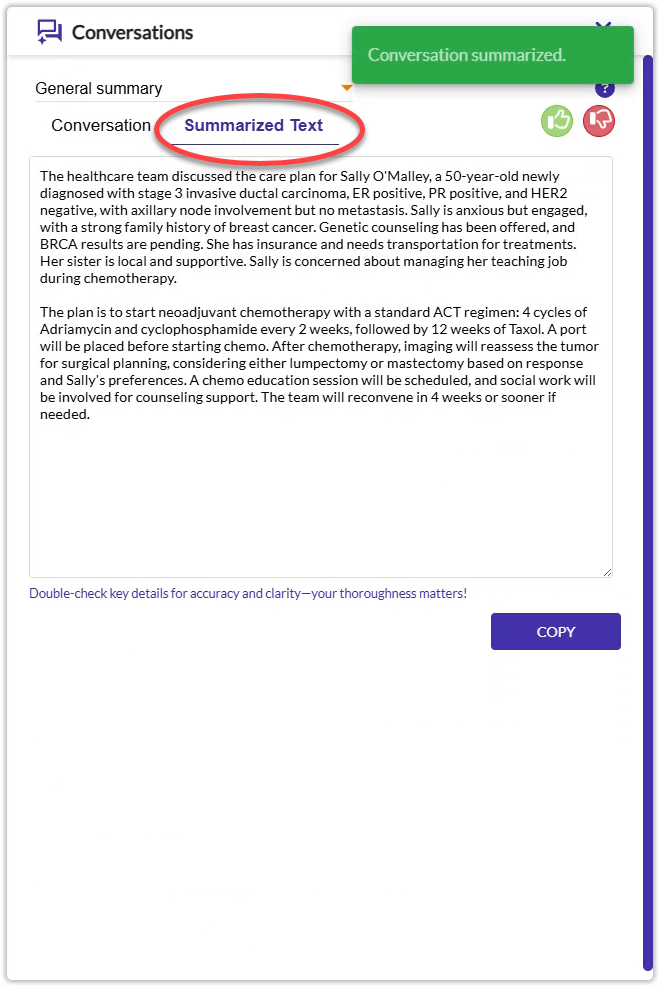
The summarized and/or formatted note is displayed on the Summarized Text tab. In this case, it is a summary of the conversation. Be sure to read through the summary and check for accuracy and clarity!
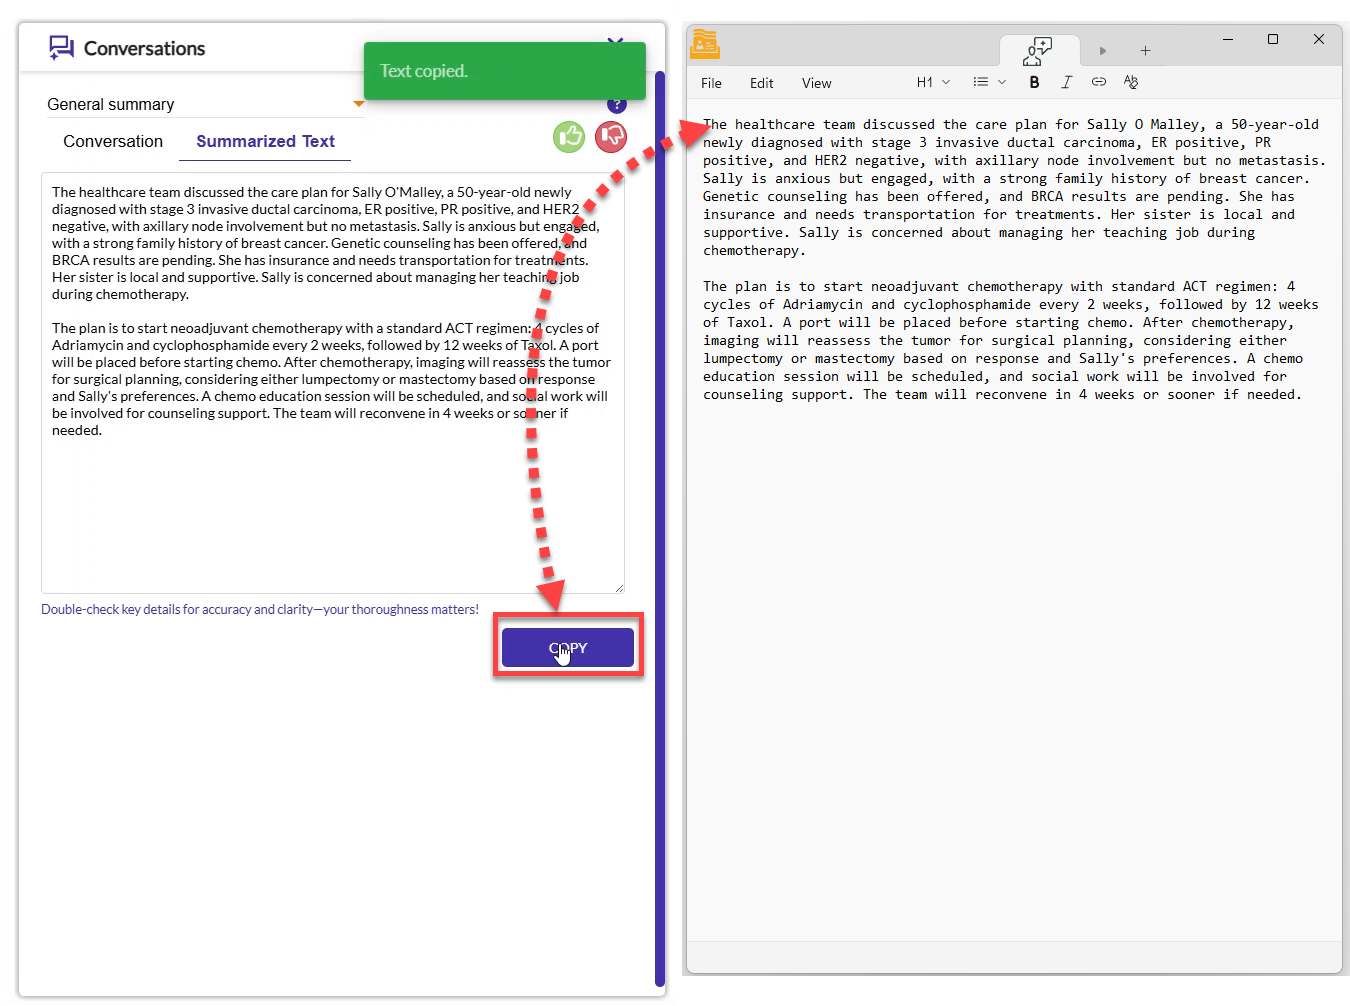
Optionally, click the COPY button on the Summarized Text tab to copy formatted / summarized note so you can paste it into your system of record.
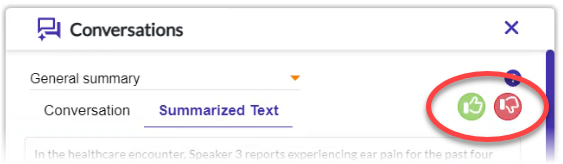
Optionally click the thumbs-up or thumbs-down button to submit feedback to nVoq about the conversation transcript and/or information on the Summarized Text tab. Feedback may be referenced to help improve future returns.
To switch back to regular dictation mode click the microphone icon on the upper-right of the dictation button.
The last option selected from the menu will automatically be selected the next time you run Conversation Capture.
In the case of the example here, the “General Summary” option will be selected.
The Conversations Window
In the Conversations window there is a drop-down menu, a Conversation tab, and a Summarized Text tab. Both tabs have a COPY button. The Conversation tab has a SUMMARIZE button. The window also includes a button that links to the nVoq Support Center, as well as feedback buttons. Additionally, you can drag the edges of the window to see more of the transcript, if applicable.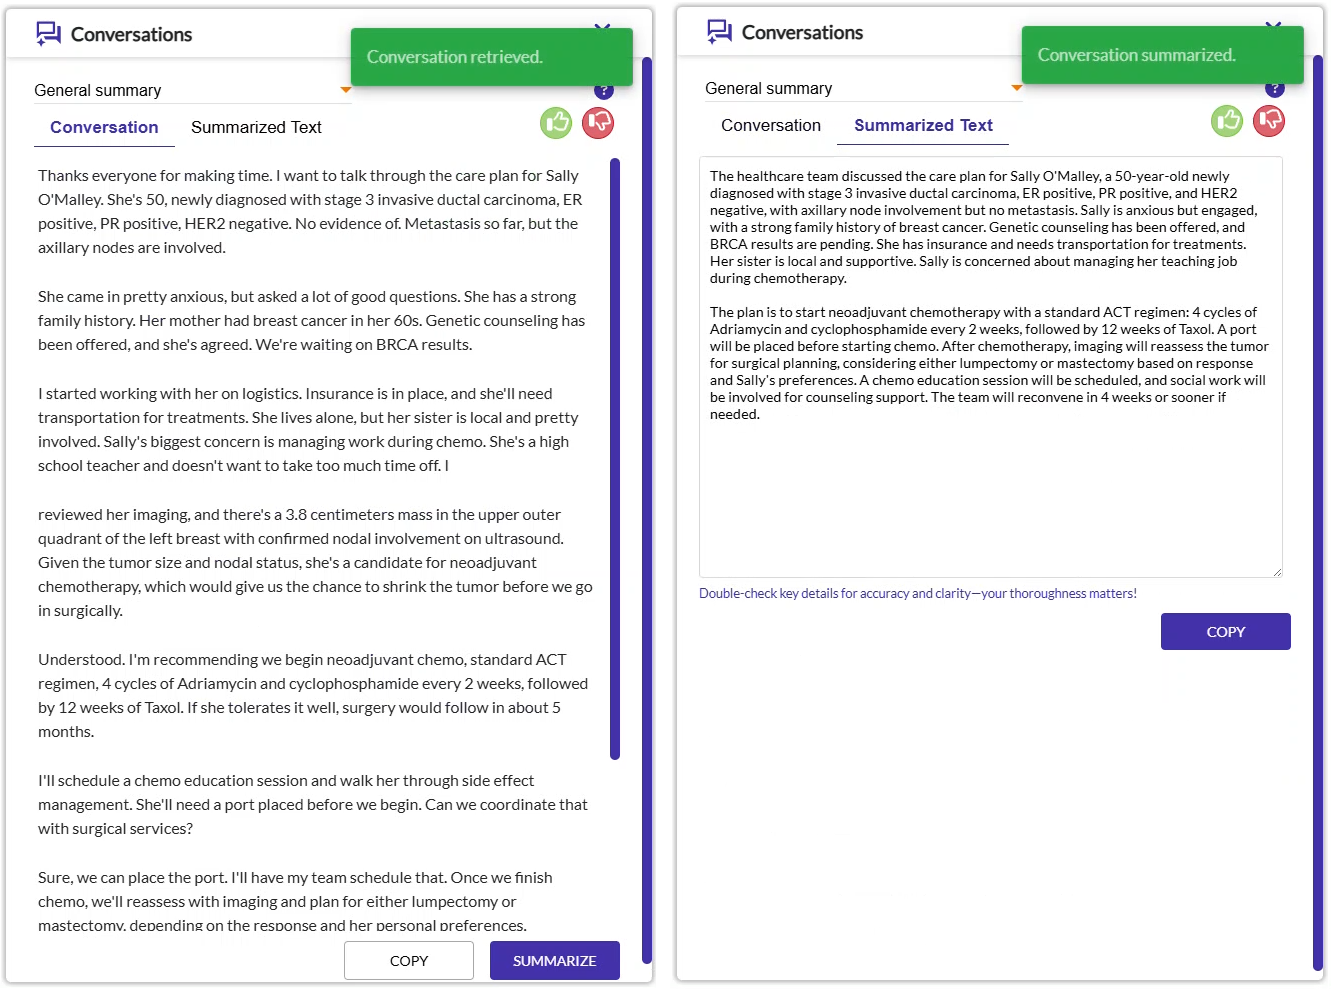
Menu
This menu may include a “General summary” option, a “SOAP Note” option, and/or custom Note Compose formatting options that have been created in the Note Compose Designer in nVoq Administrator.
General Summary displays a summary of the conversation.
SOAP Note extracts key details from the conversation and puts them in the format of a SOAP Note.
Support Center Button
Click the purple question mark icon to go directly to the documentation for the Voice Conversations feature (this page).
Thumbs-Up Button
Click the green thumbs-up button to submit positive feedback to nVoq about your conversation transcript and/or formatted note. When you click this button you have the option of selecting from a few pre-defined options. Select as many of these options as you want, and/or enter your own observations in the Other text area. When you're ready to submit feedback, click the Submit Feedback button. Feedback may be referenced to help improve future returns. If you click the button to submit feedback more than once, only the last sent feedback is saved.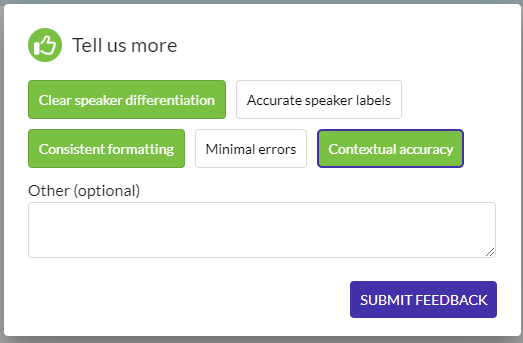
Thumbs-Down Button
Click the red thumbs-down button to submit negative feedback to nVoq about your conversation transcript and/or formatted note. When you click this button you have the option of selecting from a few pre-defined options. Select as many of these options as you want, and/or enter your own observations in the Other text area. When you're ready to submit feedback, click the Submit Feedback button. Feedback may be referenced to help improve future returns. If you click the button to submit feedback more than once, only the last sent feedback is saved.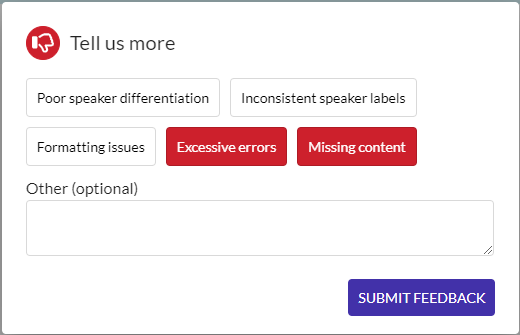
Copy Button
The COPY button on the Conversations tab copies the conversation transcript to your computer’s clipboard. The COPY button on the Summarized Text tab copies the summarized note to your computer’s clipboard. The Conversations window remains open after the Copy button is clicked.
Summarize Button
When this button is clicked the text on the Conversation tab is processed into a summary based on the formatting selected on the menu at the top of the window. The formatted note displays on the Summarized Text tab.
About Conversations Mode
Conversations mode uses a general narrative, non-medical dictation topic. (You will likely not be using medical jargon when having a discussion with your patient.)
Vocabulary, substitutions, and sentence modeling are not applied to dictations in Conversations mode.
When conversation mode is on, dictations recorded using the nVoq Wireless Microphone are ignored. (Additional work needs to be done in order to allow conversation dictations through these apps.)
When you sign out of Voice, it will start up again with the dictation button in regular dictation mode when you sign back in. Conversations mode is automatically turned off. Follow the steps above to turn it back on.
Summarized notes and original input text is stored based on the Data Retention settings configured for the group.
Voice checks for updates to Note Compose formatting options for the Conversations drop-down menu every 30 minutes and on sign in.