If you accidentally delete your desktop shortcut for nVoq Voice you'll need to uninstall the application from your computer before you can re-install it to get it back. See Voice Uninstallation
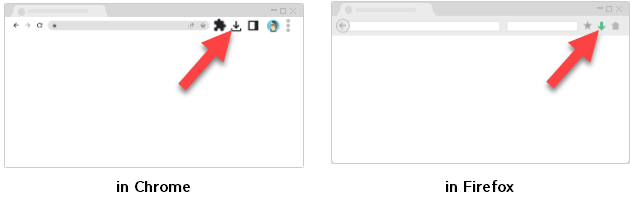
Step 1: Download the Executable File
Go to the system URL that you use to launch nVoq products followed by "/voice"
(for example: healthcare.nvoq.com/voice or canada.nvoq.com/voice)

The download will look different depending on the browser you use. Chrome is shown above.
Wait for the executable file download completely.

Open the executable file to install nVoq Voice (see Step 2).
Depending on your browser settings, the file may run automatically.

Step 2: Install nVoq Voice
When you run the executable file:
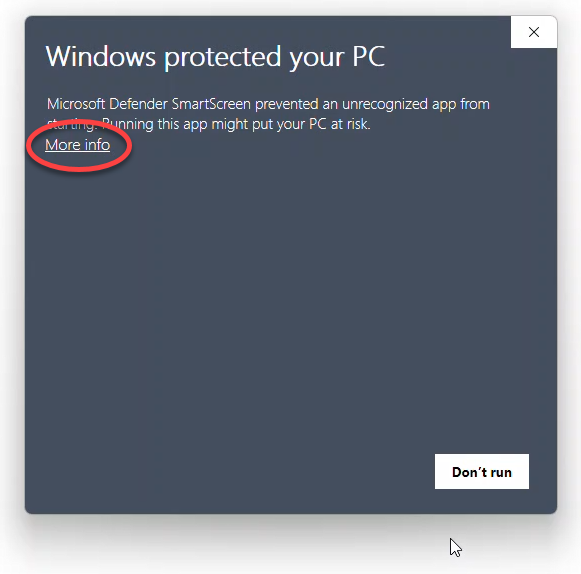
You may see a message that Windows Defender SmartScreen protected your PC. Tap the More info link on this message.
Then tap Run Anyway to proceed with the installation of Voice.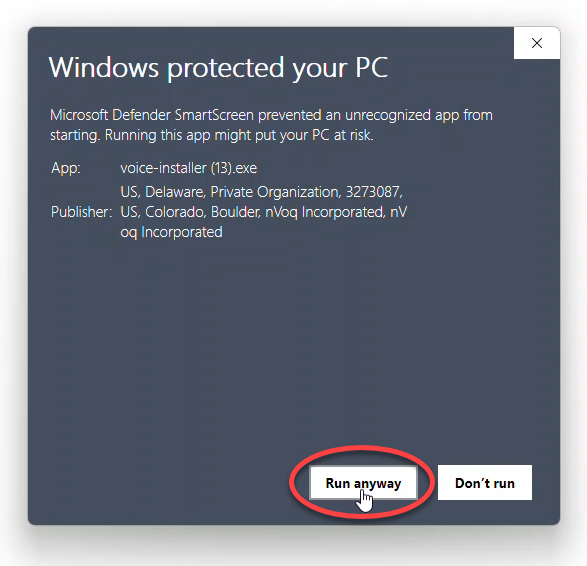
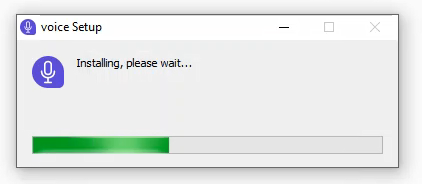
nVoq Voice will install on your computer and a Voice Setup window will display a progress bar.
Upon installation files are saved in three locations:
The application itself is installed at C:\Users\[username]\AppData\Local\Programs\nvoq-voice
Files for user properties, logs, and cached items for improved performance are installed at C:\Users\[username]\AppData\Roaming\nvoq-voice
Files for automatic updates are installed at C:\Users\[username]\AppData\Local\nvoq-voice-updater
In Windows Settings > Apps & features the Voice applications is called
Voice [version number-build number](for example, Voice 18.1.0-66)
If the application files are NOT installed at C:\Users\[username]\AppData\Local\Programs\nvoq-voice you may get error messages when running nVoq Voice. If you want to install in a different location see Command Line Silent Installation.
A shortcut is added to your computer desktop.

Launching from this shortcut going forward will be faster than the initial download.
By default, nVoq Voice for Windows is configured to automatically launch when Windows starts up. You can change this in the Voice Settings.
If you accidentally delete your desktop shortcut, go to Add or Remove Programs, uninstall
Voicethen reinstall following instructions in Step 1.
nVoq Voice automatically launches the welcome screen. Click the Start Setup button to begin.

You are presented with a screen where you can select your system and how you want to log in.
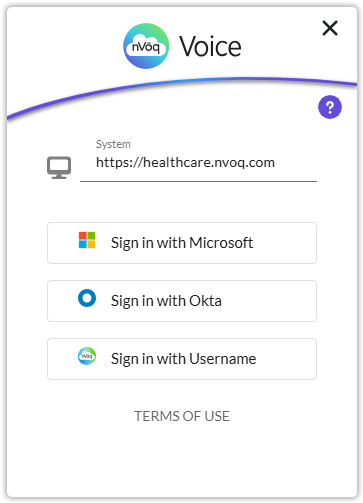
Select the system on which your dictation account exists, or keep the default setting, healthcare.nvoq.com.
If your account is on the Canada system, click on the field and select the Canada system instead.
If you need to use a system that is not listed, type the system URL (e.g. test.nvoq.com) into the field. Voice will remember the system you enter, so you won't need to type in again. Click your mouse onto the white space outside of the system menu to close the menu.
Select how you want to sign in:
To log in with a Microsoft Azure Active Directory SSO account, click Sign in with Microsoft.
To log in with an Okta SSO account, click Sign in with Okta.
To log in with an nVoq Account, click Sign in with Username.