On the Detail Review & Correct page you can see dictation transcripts or name of a shortcut that was run, and you can also listen to and correct single-speaker dictation transcripts. For dictations you can also view a timeline of events on the dictation server.
To view the event timeline for dictations, see Dictation Event Timeline.
For information about Conversation recording details and timeline events, see Review & Correct Conversations Detail.
Listen to Audio & View Transcripts
By listening to audio recorded by users and reviewing their transcripts, you can troubleshoot issues with audio equipment, single-speaker dictations, and shortcuts. For information about the detail page for Conversations, see Review & Correct Conversations Detail.
Step 1. Find an item
- Select the appropriate organization from the organization menu at the top of the page.

- For quickest results, select the lowest level organization that includes the users for whom you want to review dictations.
- Navigate this menu by using the Expand All button to open all organizations, by clicking the > arrow next to each organization level to open it, or by typing an organization name in the Filter text field.

- Transactions are found under the group in which the user belonged at the time of submittal.
- Select the organization that is a parent of all groups to which the user belonged during the selected date range to see all of the user's dictations. For example, if the user is moved to a group in a different division, you would need to select a company organization that includes both divisions (or select the tenant to see everything).
- If the user's original group is selected in the organization menu, the user's dictations done while in that group will be in the Review & Correct list view, but the user will not be listed in the Account menu.
- For example: George Glass recorded dictations while in Group A. If George’s account is moved from Group A to Group G, his dictations recorded while he was in Group A stay with Group A on the Review & Correct page and in reports. To see George’s dictations recorded while he was in Group A, select Group A from the organization menu. To see George's dictations while in Group G, select Group G from the organization menu. To see all of George’s dictations done under both groups at once you need to select a parent organization that includes both groups.
- Go to the Review & Correct page in nVoq Administrator.
- Optionally, click the Manage icon in the sidebar to hide the sidebar while you work.
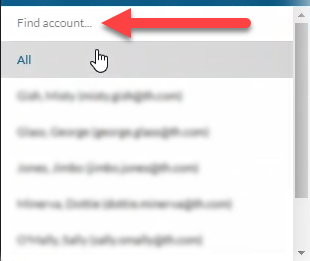
- From the Account drop-down menu, select an account or choose "All" at the top of the list to view activity.
- The menu will display a maximum of 250 accounts. If there are more than 250 accounts in the selected organization, the bottom of the menu will say, "Showing 250 out of [#] possible accounts."
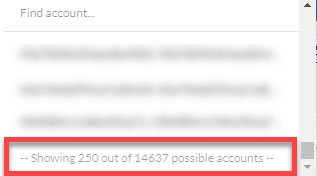
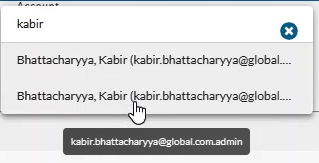
- Use the Find Account field at the top of the menu to find any account that exists in the selected organization, even if it is not displayed in the menu.
- Hover your mouse over the account in the list to see the username in a tooltip if it's cut off on the menu.
- The menu will display a maximum of 250 accounts. If there are more than 250 accounts in the selected organization, the bottom of the menu will say, "Showing 250 out of [#] possible accounts."
- Optionally, filter results in this list by the following categories:

- Date Range: Use this filter to view activity that occurred on a specific date or during a specified date range.
- Type: Use this filter to view transactions for a specific type of activity, like only dictations.
- Status: Use this filter to see which dictations need to be corrected, which have already been corrected, or which have been marked as poor quality and should not be used for accuracy scoring.
- Result: Use this filter to find dictation or shortcut events that were successful, canceled, or received some type of error.
- Look for Word: Use this filter to search "original" dictation transcripts for specific words or phrases.
- Click the refresh icon
 in the blue bar to view selected filtered results.
- A summary table of all items appears on the page.
- Click on any column header to sort information to find an item. The first letter of the Item ID tells you what kind of recording it is (see below).
- ONLY DICTATIONS CAN BE CORRECTED.
C = Conversation
D = Dictation
S = Voice Shortcut recording
U = Popup shortcut
K = Keyword used to start or stop a hands-free dictation or shortcut
Step 2. View the Transcript & Listen to the Recording
- Double-click on the row (or click the Actions icon
 and select Open Item) to open the Detail Review & Correct screen.

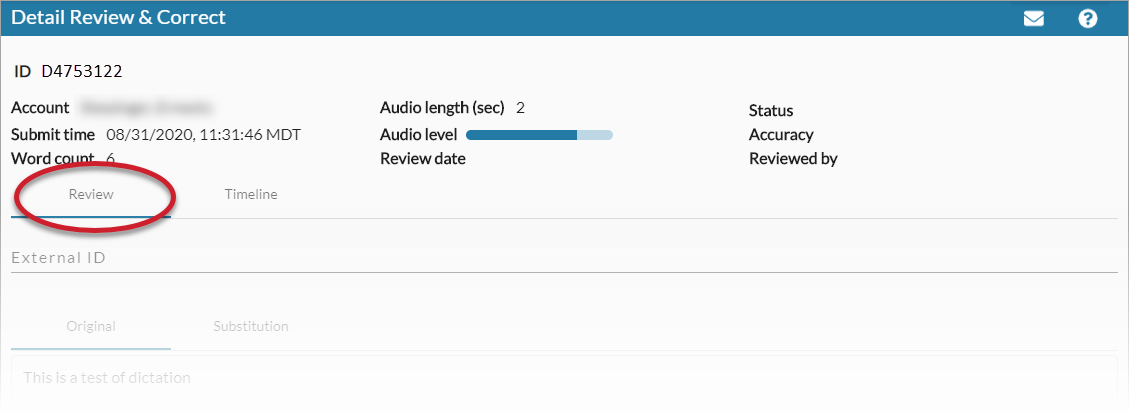
- View information about the transaction on the Detail Review & Correct screen.
- Make sure you're on the Review tab. (The detail view will automatically open to the Review tab.)
External ID
- External ID is a text field where you can enter information about the transaction. This field may already be populated with information supplied by the API for partner clients.
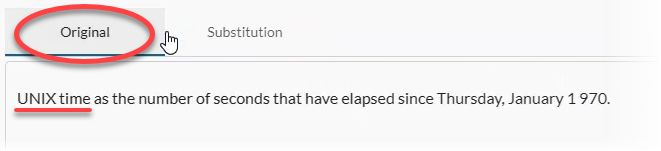
Original Tab
- The Original tab will show (for dictations) the dictation transcript as it was heard by the dictation server, or (for shortcuts) the name of the shortcut that was launched.
- If you used the Look for Word feature on the list view to find a specific word or phrase in dictations, the word or phrase for which you searched will be highlighted.
- This tab will be empty if a no words were understood by the dictation or shortcut server or (in the case of a voice shortcut) if the words spoken do not match to an existing shortcut name.
- Make sure you're on the Review tab. (The detail view will automatically open to the Review tab.)
Substitution Tab
- The Substitution tab displays the dictation transcript as it appeared after substitutions were applied. The text in the Substitutions tab is the dictation transcript as it was returned to the user unless the user had substitutions turned off.
- This tab is blank for shortcuts.
- There are "built-in" substitutions that will show up as substitutions here, though they are not listed on the Substitutions page in nVoq Administrator.
- If you used the Look for Word feature on the list view to find a specific word or phrase in dictations, the word or phrase for which you searched will be highlighted.
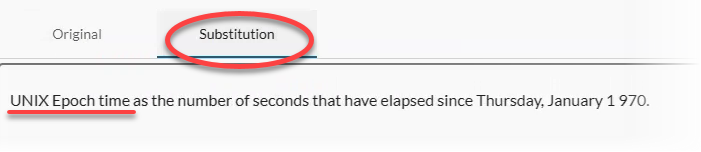
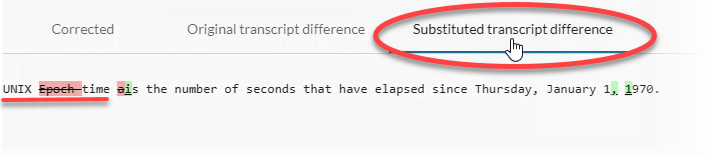
This user has a substitution that replaces a dictation of "UNIX time" to "UNIX Epoch time" in the transcript.
- Listen to the recording of the dictation or voice shortcut on the Detail Review & Correct screen:
- Click the play button ▶ on the audio player to hear the recording.
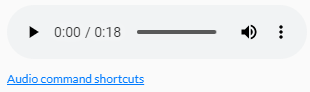
- Click the Audio Command Shortcuts link below the player (or Ctrl+M on your keyboard) to open a list of available hotkeys for navigating audio. Use the Esc key or just click on the background of the page to dismiss the window. Hotkeys for audio playback include:
- Ctrl+P: Play, Stop
- Ctrl+R: Rewind 1.5 seconds (works when in both Play or Stop mode)
- Ctrl+F: Fast Forward 1.5 seconds (works when in both Play or Stop mode)
- For dictations:
- Listen for audio quality issues.
- Is the audio too loud, too quiet, or is there a hum or other noise?
- This could be caused by the user recording with a non-approved microphone.
- Listen to see if the beginning or end of the transcript was cut off.
- This is generally caused by a poorly-timed dictation button press by the user.
- Listen to see if the transcript matches what was dictated.
- If not, you can optionally correct the dictation (to add to user sentence modeling) or reject the dictation (if there are audio issues).
- For voice shortcuts:
- Listen to see if the name of the shortcut that ran (in the Original tab) matches the name of the shortcut that was spoken.
- If not, this was a mismatch. You can optionally check to see if the user said a shortcut name that matched an existing shortcut name in the grammar file.
- Listen to see if the beginning or end of the shortcut name was cut off.
- This is generally caused by a poorly-timed voice shortcut button press by the user.
- Listen to see if the name of the shortcut that ran (in the Original tab) matches the name of the shortcut that was spoken.
- Click the play button ▶ on the audio player to hear the recording.
- Decide what you want to do next:
- To view or listen to another item, click the Previous or Next button at the lower left of the page to listen to another recording.You can only use Previous and Next buttons to navigate through transactions in the list of the page you are viewing.If your data is displayed across multiple pages in the list view, the Next and Previous buttons on the Detail Review & Correct page can only access the current page. To access transactions on a different page, return to the list view and select a new page. See Items per Page.
- To view or listen to another item, click the Previous or Next button at the lower left of the page to listen to another recording.
- To return to the list of items on the Review & Correct page, click the Close button in the lower right.
- To correct a dictation transcript, see Correct a Dictation Transcript.
- To send dictation information for this dictation to nVoq Support (or anyone else), see Email Transaction Information.
- To reject a dictation recording with poor audio quality or words cut off at the beginning or end so that it does not get used for accuracy scoring, see Mark a Dictation as Poor Quality.
Correct a Dictation Transcript
When you correct a dictation transcript you create an accuracy score for the dictation and user sentence modeling that is applied overnight to the user's account to help improve dictation accuracy.
- Find the Item you want to correct.
- We recommend that you FILTER the results (using the Type drop-down menu) to view Dictation items only.
Only corrected dictations are used for sentence modeling to improve accuracy. Dictations recorded with the “Offline” topic are excluded—do not correct these. - After you select filter, click the refresh icon in the blue bar to update the list to include the selected filter results.
- We also recommend that you SORT by the Word Count column (by clicking on the column to sort in ascending order) to see longer dictations.
You should select transcripts of at least 3 words or more if you want the correction to apply to sentence modeling, but we recommend that you focus on correcting longer dictations (10-40 or so words) so the dictation engine is given more context.
- We recommend that you FILTER the results (using the Type drop-down menu) to view Dictation items only.
- View the transcript and listen to the recording.
- Click the Actions icon () and select Open Item to open the Detail Review & Correct screen (or double-click on the item).
- Make sure you're on the Review tab. (The detail view will automatically open to the Review tab.)
- Click the play button▶ on the audio player to listen to the recording.
- Click the Audio Command Shortcuts link below the player (or Ctrl+M on your keyboard) to open a list of available hotkeys for navigating audio. Use the Esc key or just click on the background of the page to dismiss the window. Hotkeys for audio playback include:
- Ctrl+P: Play, Stop
- Ctrl+R: Rewind 1.5 seconds (works when in both Play or Stop mode)
- Ctrl+F: Fast Forward 1.5 seconds (works when in both Play or Stop mode)
- Transcripts and audio recordings are displayed on the Review & Correct page until they are deleted from the system. The length of time that this information is saved is configurable on the Organizations page at the Group level on the Client Settings tab under Data Retention. If text and/or audio has been deleted per the Keep Text and Keep Audio settings on the Group Client Settings tab, there will be no transcript and/or you will not be able to playback the audio.
- Click the Audio Command Shortcuts link below the player (or Ctrl+M on your keyboard) to open a list of available hotkeys for navigating audio. Use the Esc key or just click on the background of the page to dismiss the window. Hotkeys for audio playback include:
- Click the Actions icon (
- Determine whether or not the recording is suitable for accuracy scoring.
- How does the audio sound? Is it too loud or too quiet? Is it distorted or truncated? Is there popping, clipping, or static?
- If accuracy is good, don't worry about this.
- If accuracy is bad, this could be the culprit. See Audio Level. Click the Poor Quality button.
Poor audio quality that has affected the dictation accuracy will also affect the accuracy score if the item is corrected.
See Mark a Dictation as Poor Quality.
- Are any words cut off from the beginning or end of the recording?
- If yes, click the Poor Quality button.
- Is the audio quality acceptable?
- If yes, proceed to the next step.
- How does the audio sound? Is it too loud or too quiet? Is it distorted or truncated? Is there popping, clipping, or static?
- If the audio quality is good and there are no words cut off from the recording, click on the Original tab (it may be already showing by default) and then click Copy Text to Corrected button to copy the text from the Original tab over to the Corrected Text box.
- You must be viewing the Original tab in order to copy text from that tab. The "Copy Text to Corrected" button will copy text from whichever tab you are viewing when the button is clicked.

- The Original tab displays the transcript exactly as it was initially recognized.
- This tab will be empty if no speech was understood.
- This tab will be empty if no speech was understood.
- The Substitution tab displays the a dictationtranscript as it appeared after substitutions were applied.
- The text in the Substitutions tab is the dictation transcript as it was returned to the user unless the user had substitutions turned off.
- There are "built-in" substitutions that will show up as substitutions here, though they are not listed on the Substitutions page in nVoq Administrator.
- You must be viewing the Original tab in order to copy text from that tab. The "Copy Text to Corrected" button will copy text from whichever tab you are viewing when the button is clicked.
- Press play on the audio player and pause as needed while you edit the text in the Corrected Text box.
- The text in the Corrected Text box should reflect what the user actually said, including any words that may be used to elicit a substitution.
- Include punctuation that the user dictated as punctuation marks (not the words). If the use said, "period" and meant to get a punctuation mark (.) instead of the word "period", include that punctuation mark in the Corrected Text field.
- For most substitutions, enter the words that the user dictated to elicit the substitutions in the Corrected Text field, like "Number Next" or "Caps On" / "Caps Off."
- Unlike other substitutions, "New Line" and "New Paragraph" commands are NOT returned as words on the Original tab transcript. Instead these appear as one or two line carriage returns. This is fine to keep in the Corrected Text field.
- If you are correcting a dictation in which the "new line" or "new paragraph" command was spoken but did not work, correct the transcript by adding 1 carriage return for the "new line" command, or 2 carriage returns for the "new paragraph" command in the Corrected Text field.
- EXCEPTION: Do NOT include “Stop Dictation” commands in the Corrected Text if you hear them in the recording.
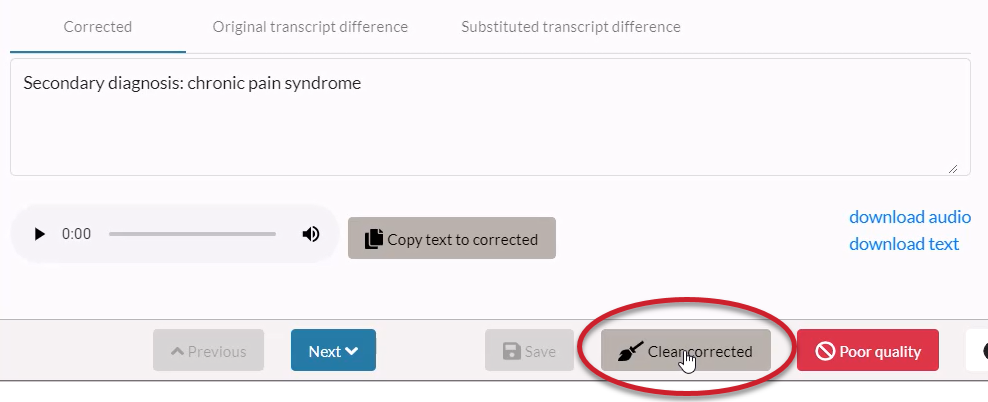
- When you've completed the correction in the Corrected Text box (OR if no corrections were needed), click the Save button.
- If you've made a mistake, click the Clear Corrected button. See Undo a Correction.
- If you've made a mistake, click the Clear Corrected button. See Undo a Correction.
- You will now see Accuracy scores and a Status of
 at the top of the Detail Review & Correct screen.
- Optionally, click on the Original Transcript Difference tab to view the differences between the original transcript and the corrected transcript.
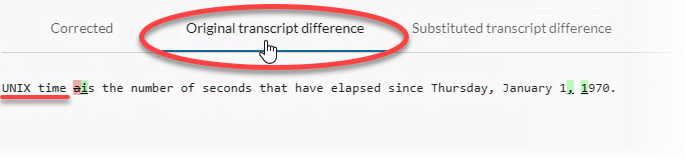
- You can also click on the Substituted Transcript Difference tab to view the differences between the substitution transcript and the corrected transcript.
- The corrected transcript will automatically be added to this user's account sentence modeling as part of a system job that runs overnight.
- Any unknown words in the sentence model will be ignored by the dictation server, but you can add unknown words to vocabulary to allow them to be recognized by the dictation server in future dictations.
- You can optionally apply the user's corrected transcript sentence model to an entire organization.
- Optionally, click on the Original Transcript Difference tab to view the differences between the original transcript and the corrected transcript.
- Optionally, send information about this dictation to nVoq Support (or anyone else). See Email Transaction Information.
- Optionally, move on to the next recording by clicking the Next or Previous buttons, or click the Close button to return to the list of items on the Review & Correct page and choose another dictation.
Undo a Correction
If you make a mistake in your correction, click the Clear Corrected button to reset a corrected transcript back to a New state.
- If you click the Clear Corrected button BEFORE YOU SAVE, all information that you entered on this page (in the External ID field, in the Corrected field, etc.) will be deleted.
- If you click the Clear Corrected button AFTER YOU SAVE, only correction statistics associated with this item or a "poor quality" status will be cleared from the item. (It will NOT clear other saved information.)
- Clicking the Clear Corrected button automatically saves the item with the cleared status.
Mark a Dictation as Poor Quality
If poor audio quality has affected dictation accuracy, the dictation transcript is not suitable for accuracy scoring.
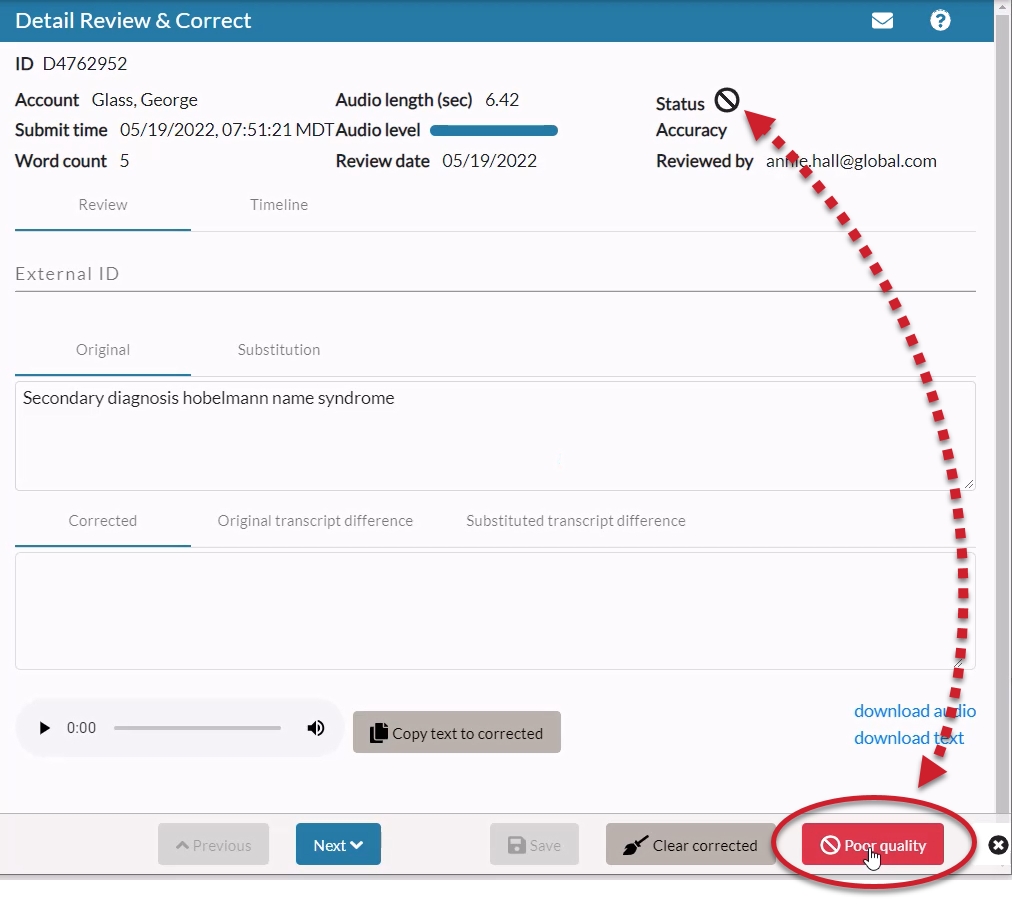
- If this occurs, click the Poor Quality button to reject the audio recording.
- Doing so will give the item a Status of
 and clear all correction statistics associated with this item (if any). Any associated accuracy score is removed from the summary table as well as any text in the Corrected Text field.
 - Clicking the Poor Quality button will automatically save the item with the poor quality status.
Dictations may be marked as Poor Quality for the following reasons:
- The audio recording quality is poor. This can be caused by using a microphone with poor recording quality, static, a hum, poor connection, or audio level that is too low or too high.
- The recording volume is too loud and there is clipping in the recording.
- The recording volume is too low and inaudible.
- Words are cut off from the beginning or end of the recording.
See Audio Level
Email Transaction Information
Click the email icon in the blue toolbar ![]() to send an email to nVoq Support (or whoever you want) with your questions or comments about a particular transaction that includes everything they might need to know about the transaction.
to send an email to nVoq Support (or whoever you want) with your questions or comments about a particular transaction that includes everything they might need to know about the transaction.
- When you click the icon, an email opens in your default email client that includes the following information about the transaction: environment, ID, username, account first and last name, audio length, status, submit time, audio level, accuracy percentage, word count, review date, reviewed by name, external ID, and audio observations.
- If the transaction is a dictation, additional information from the Timeline tab will also be included: client product, client vendor, client version, the UUID of the dictation, microphone used, queue depth, queue time, topic, total time, and upload delay.
- You will need to manually complete the TO field of the email.
Audio Observations
This field is for use by nVoq staff.
In the Audio Observations field a system-level administrator can add tags relating to audio or accuracy issues in order to identify at-risk users, or to identify transactions that represent an ideal experience. The field is available at the bottom of the Detail Review & Correct page for all types of transactions, including voice and popup shortcuts.
- This field and tags added to it are visible to anyone who has access to the Detail Review & Correct page. Tags can also be viewed on the Review & Correct page list view by adding a custom column. Tags can only be added by system-level administrators.
- When a system-level administrator clicks into this field, a menu appears with default tags that can be select, including: Accented speaker, Audio level, Background noise, Exemplary, Microphone, Speech, Vocabulary, and Other. Select menu items with a mouse click, or by using the up and down arrow keys to navigate and the enter key to select.
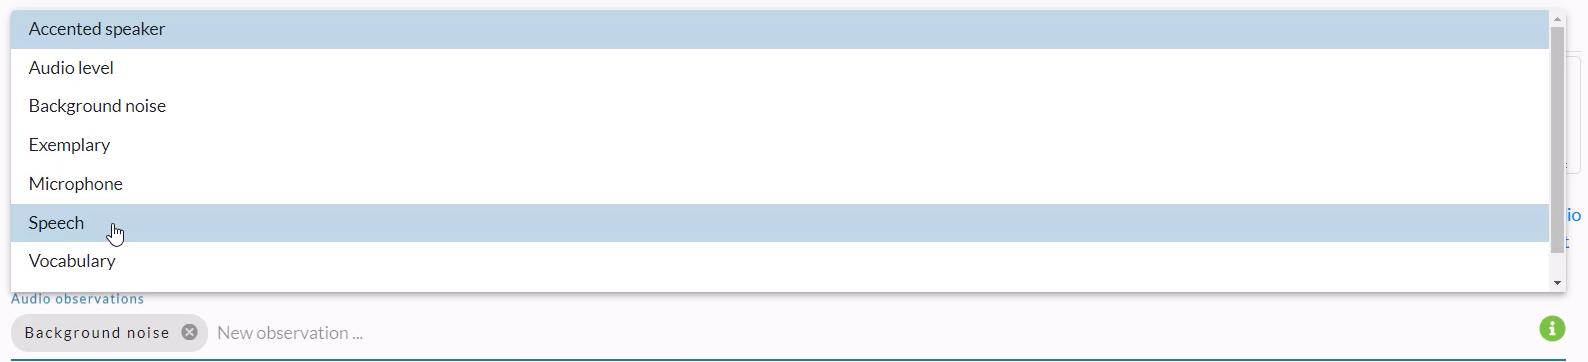
- Custom tags can also be entered manually by typing in a word or phrase into the field and then clicking either the enter key or the comma key on the keyboard to create the tag.

- Once created, tags are not editable. If you need to change a tag, delete it (by clicking the X next to it) and add a new one.

Audio Level
Audio Level provides a visual indicator of the Root Mean Square (RMS) amplitude of dictation audio from 1 to 4. Click on the Audio Level bar to see additional details about the amplitude of the recording. This provides a bit of extra information about the audio while you're listening to a recording.
This indicator does not have as much value with our current dictation server as it had with our previous one, but you can still use it to review audio in which the level is on the lowest or highest end of the bar. For example, if the bar is very low you could click on it to review the Average Energy. A very low number (below 200 or so) may cause problems. On the other hand, a very high bar could indicate that there is clipping in the audio, so you could click on the bar to review the Clipping information (it should be 0%). Isolated cases do not indicate an issue, but a large number of audio recordings that indicate clipping in combination with recordings that have a high RMS value (like 5000) may indicate a problem with the user's microphone. For more information about clipping see Troubleshooting: Audio Clipping (a video will download to your browser).

- The Hint provides a written indicator of the Root Mean Square (RMS) amplitude of dictation audio from 1 to 4.
- Audio is below acceptable levels.
- Audio is starting to get too quiet.
- Audio is in normal range.
- Audio is too loud.
- Average Root Mean Square (RMS) Energy is a statistical measure of the varying magnitude of the audio signal from a given baseline. An RMS range between 500 and 5000 returns the best accuracy. Below 500, the signal slowly degrades and reduces accuracy. Above 5000 there are increasing chances of errors.
- Average Energy is the amplitude or loudness of the recording. It is calculated as an average across the entire recording. Energy level that is too low will result in poor recognition. A low energy level occurs when a microphone is too far away from a user's mouth or a user is speaking too softly. Some microphones let you configure the input level. Low energy level can occur when the input level is set too low.
- Clipping means the signal is too loud, resulting in distortion, and the signal is difficult to moderate with normalization. Any number above 0 indicates clipping. Clipping can occur when a microphone is too close to a user's mouth or a user is talking too loudly. Some microphones let you configure the input level. Clipping can occur when the input level is set too high. For more information about clipping see Troubleshooting: Audio Clipping (a video will download to your browser).
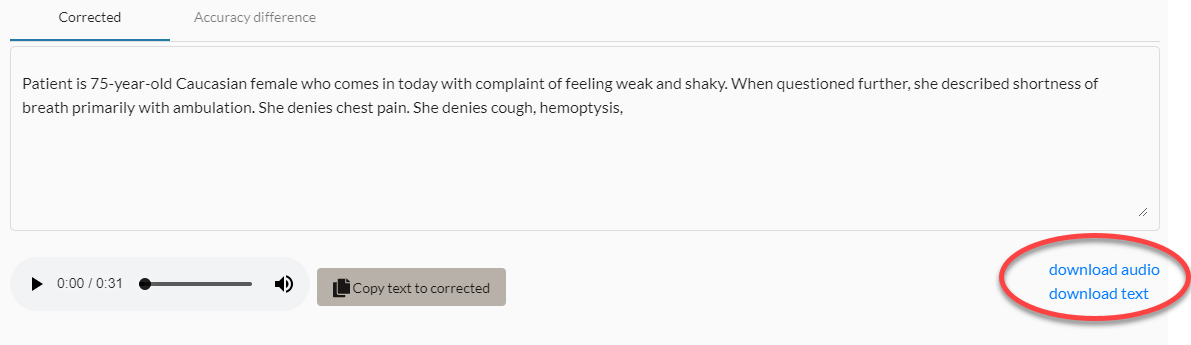
Download Audio or Download Text
The Download Audio and Download Text links allow you to download the audio and text pairs for dictations and voice shortcuts.
To download audio and/or text files:
- Click the Download Audio or Download Text link.
- The audio or text file will be downloaded to your computer.
If a dictation transcript was corrected, the corrected text is downloaded from the Download Text link. If the audio was removed from the database, only the text is downloaded.
Supported file types are .ogg, .wav, and .webm for audio, and .txt for the text file.
The default naming convention is to name the file by lastname, firstname_JobID.filetype.
For example: Minerva, Dottie-D4741741.txt or Minerva, Dottie-D4741741.ogg.
Download Conversations Text
If the dictation was recorded in nVoq Voice Conversations mode there will be a third download link to Download Conversations Text. This will download a JavaScript Object Notation (JSON) file that includes the diarized transcript as well as any feedback that may have been submitted from the Conversations windows for the transcript. You can use any file opener to view a JSON file, such as notepads, text editors, and even command-line interfaces.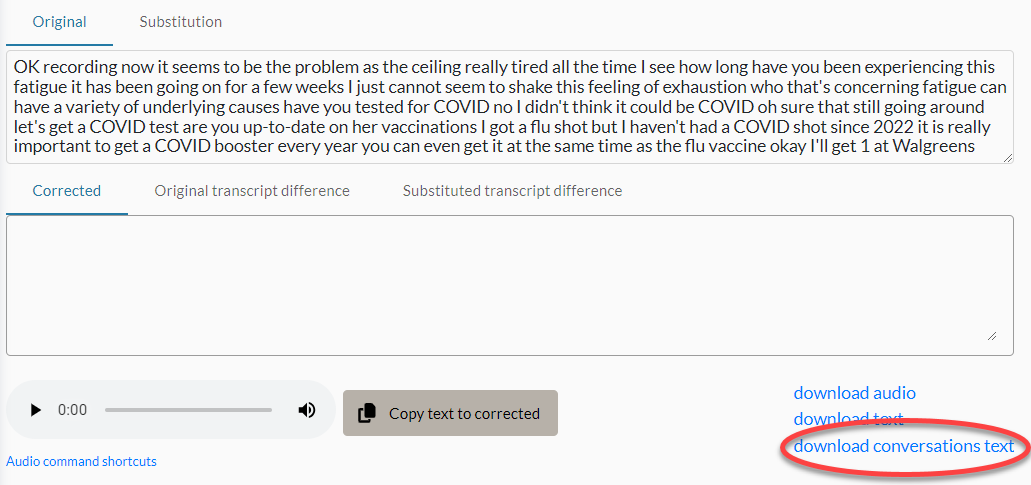
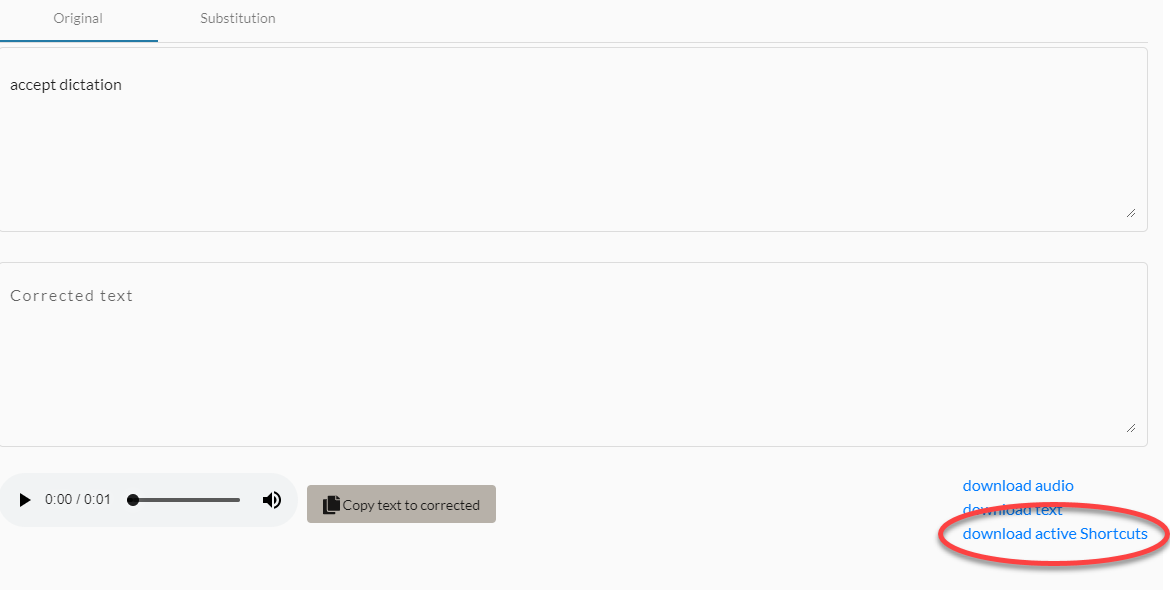
Download Active Shortcuts
The Active Shortcuts is a "grammar file" that contains a list of all of shortcut names, including alternatives, that were available at the time the user attempted to run a voice shortcut. This file is available until it is removed by the "orphan cleaning" job (usually after 14 days). After the file has been removed, the Download Active Shortcuts link will no longer appear for the item.
To view the grammar file:
- Click the Download Active Shortcuts link.
- The grammar file will be downloaded to your computer. One of two types of files will be downloaded:
- A regular voice shortcut will produce a .grxml (eXtensible Markup Language) file.
- A Fast Shortcut will provide a .jsgf (JSpeech Grammar Format) file.
An example XML grammar file is shown below:
<?xml version="1.0" encoding="UTF-8" ?>
 <grammar xml:lang="en-US" version="1.0" root="ROOT" xmlns="http://www.w3.org/2001/06/grammar">
  <rule id="ROOT" scope="public">
   <one-of>
    <item>Account Change Request</item>
    <item>BRS Notepad</item>
    <item>Chat Fillers</item>
    <item>Mammogram Results Letter</item>
    <item>Price Adjustment Request</item>
    <item>Support Ticket Status Email</item>
    <item>Ticket Detail Template</item>
    <item>Training Request Email</item>
   </one-of>
  </rule>
</grammar>
An example JSGF file is shown below:
#JSGF v1.0;
 grammar quicknotes;
public <quicknotes> = /22/account change request | /11/brs notepad | /12/chat fillers | /24/mammogram results letter | /24/price adjustment request | /27/support ticket status email | /22/ticket detail template | /22/training request email;
Browser Support with Audio Players
- If you are unable to listen to OGG audio on Windows, the work-around is to download the audio in Review & Correct and play the audio in the stand alone version of Windows Media Player.
- QuickTime v.7.7.6 no longer supports legacy codecs in Firefox.
- If you are using Firefox and QuickTime does not launch, download the audio in Review & Correct and play the audio in the stand alone version of QuickTime. Alternatively, use an older version of QuickTime with Firefox. See http://www.oldversion.com/windows/quicktime/.