Creating and managing tickets for nVoq Support is done through the FreshDesk support portal.
Before you submit a ticket to nVoq, please complete all appropriate Tier 1 troubleshooting (see Tier 1 Support Expectations).
Request Access to the Support Portal
nVoq now provisions all Support Portal accounts to ensure proper company linkage, permissions, and syncing with our customer management system. Self-registration is no longer supported.
If you have previously interacted with nVoq Support via email, an account may already exist.
- Request account provisioning.
- Ask your nVoq Deployment or Account Manager contact to create your account.
- Provide: First name, Last name, Work email (used as username), Company name.
- If you require company-wide visibility (view/manage all company tickets), indicate this in your request.
- Activate your account.
- You will receive an activation email from the Support Portal.
- Click the activation link to set your password and complete setup.
- If the email doesn’t arrive within a few minutes, check junk/spam or ask nVoq to resend. (The suggested search phrase to find the activation email in a Junk or Spam folder is: FD-activation-email, FD-activate-account)
- Sign in.
- Go to https://nvoq.freshdesk.com/support/login to access the portal.
- If you see “Email has already been taken,” use the Forgot your password? link on the login screen to reset your password.
Company-Wide Ticket Visibility (optional)
By default, users can submit and view their own tickets.
Authorized IT/Tier 2 contacts can be granted permission to view and manage all tickets for their company. If you need this, request it when your account is provisioned or contact nVoq Support to update your permissions later.
Create a Support Ticket
All tickets much be created via the FreshDesk support portal.
Before you submit a ticket to nVoq, please complete all appropriate Tier 1 troubleshooting (see Tier 1 Support Expectations).
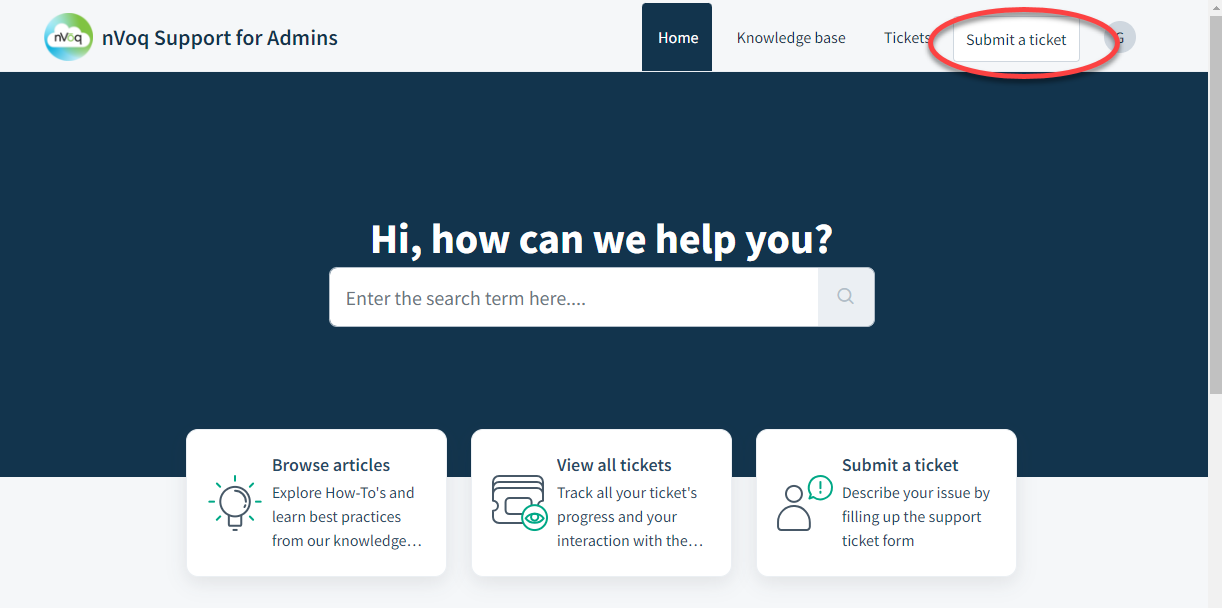
- Sign in to your FreshDesk account at https://nvoq.freshdesk.com/support/login
- Click the Submit a Ticket button.
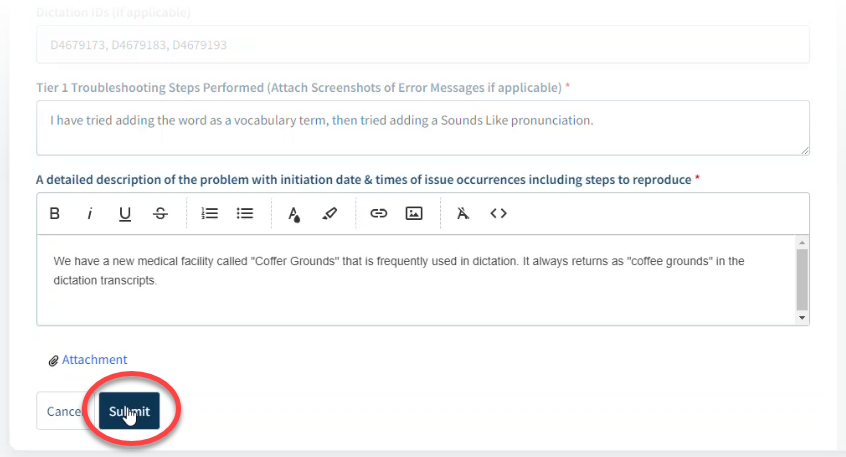
- Complete the ticket form, including all required fields shown with a red asterisk (*) as well as more specific information under Dictation ID, Tier 1 Troubleshooting Steps Performed, and A detailed description of the problem...
- As you type in the Subject field include words that describe the specific feature and/or product with which you are having trouble. Articles related to the terms you enter will appear on the right side of the form. Be sure to read any that may help you resolve the issue yourself!

- The nVoq Release Version Number of Voice or Mobile Voice can be found in nVoq Administrator on the Review & Correct page, in the user's Account Properties, and on the Product Usage report.
- Be sure to include dictation IDs of specific dictations that are affected by the issue, if possible. Dictation IDs can be found on the Review & Correct page ID column and at the top of the Detail Review & Correct page.

- Let us know what you've done to reproduce the issue so we can try to see the same issue you are seeing.
- Include the date and time that the issue occurred so we can review dictation or logging information that may be available.
- If the issue is with the API, include information about the specific web service or call with which you're having trouble.
- Include screen shots illustrating the problem, if possible. The easiest and most effective way to communicate is often by creating a screen capture. This may be of an error message, or the Item Detail window from the Review & Correct page in the administrator console. BE SURE THERE IS NO PHI IN YOUR SCREEN CAPTURE.
- As you type in the Subject field include words that describe the specific feature and/or product with which you are having trouble. Articles related to the terms you enter will appear on the right side of the form. Be sure to read any that may help you resolve the issue yourself!
- Click the Submit button at the bottom of the form.
- You will receive an automated email to let you know that we received your ticket.
- An nVoq Support representative will follow up with you about your issue. See Manage Support Tickets (below) for more information about replying to tickets.
- When your ticket has been resolved you will receive an email letting you know the ticket has been closed.
Manage Support Tickets
You can view, respond to, and close your support tickets in the FreshDesk support portal.
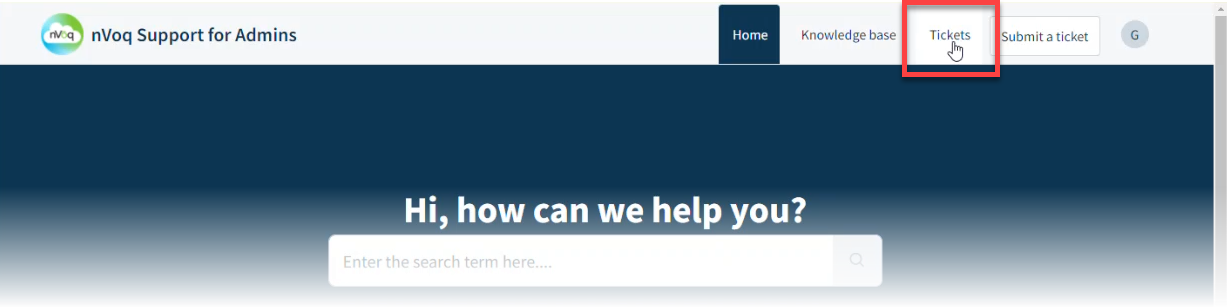
- Sign in to your FreshDesk account at https://nvoq.freshdesk.com/support/login
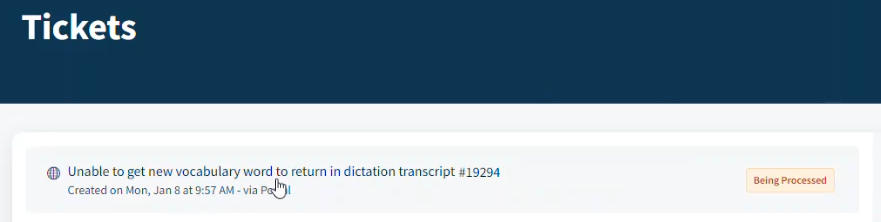
- Click the Tickets link.
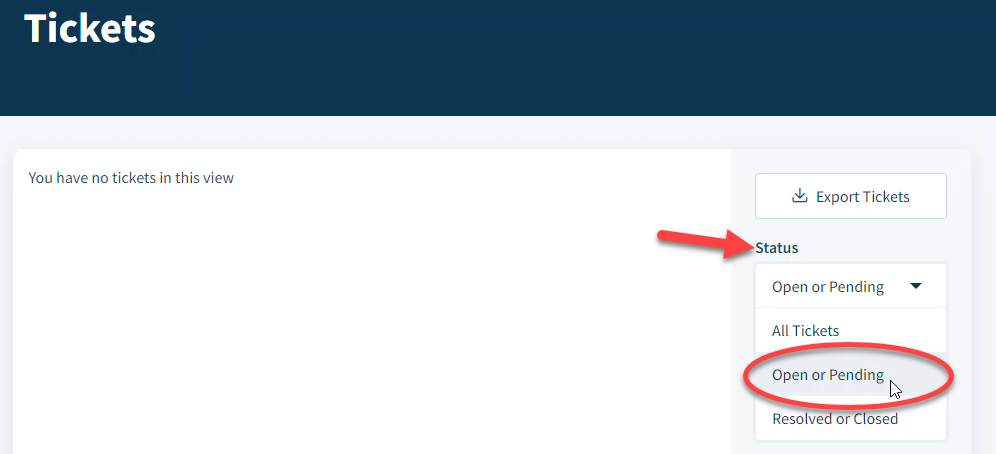
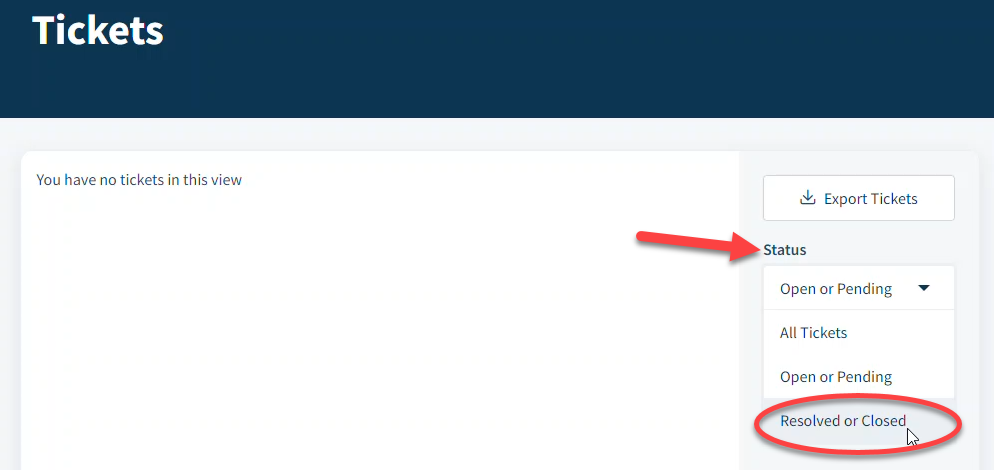
- All of your open/pending tickets are shown by default. If they're not, click on the Status drop-down menu and select Open or Pending.
- Click on a ticket to open it and see the discussion thread.
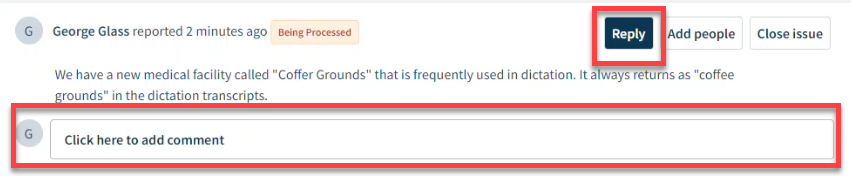
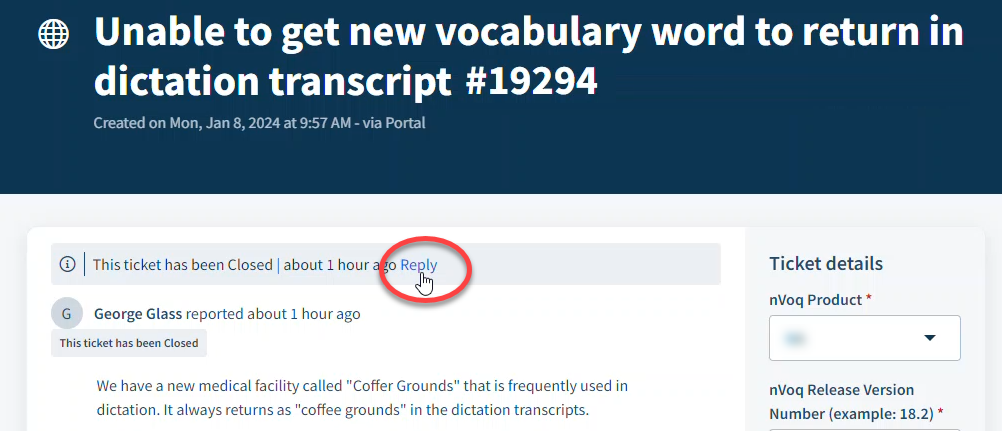
- Click the Reply button (or just add a comment) to respond to a question sent by nVoq Support or to send us more information about the issue.
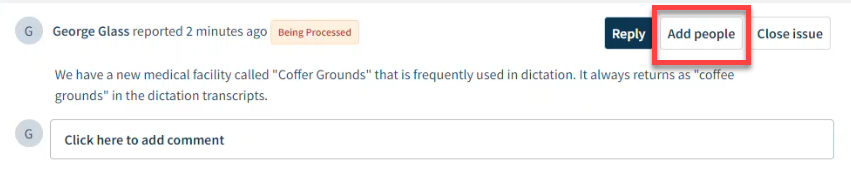
- Click the Add People button to add other people to the ticket who need to know about the issue or may have more information about it.
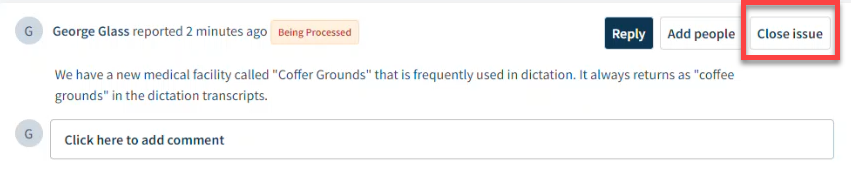
- Click the Close Issue button to close the ticket if you have figured out a way to resolve the issue or if it is no longer occurring.
- Click on a ticket to open it and see the discussion thread.
- To view your resolved/closed tickets click on the Status drop-down menu and select Resolved or Closed.
- To reply to a closed ticket, click the ticket to open it and click the Reply button to open a text area where you can send a response or reopen the ticket.
- To reply to a closed ticket, click the ticket to open it and click the Reply button to open a text area where you can send a response or reopen the ticket.