Sometimes people may go on an extended leave of absence. When this happens, you can disable the account so that it does not count towards your licensed number of accounts, but all of the account information is retained and can be easily reinstated when the person returns to work.
If there is a possibility that a user’s account may be re-enabled in the future, we recommend disabling the account instead of deleting it.
Deleting an account will also remove the account vocabulary as well as account sentence modeling that the user has built up since they first logged into nVoq.

If you need to disable multiple accounts, try the Mass Update Accounts feature!
To disable an individual account:
- Go to the Accounts page in nVoq Administrator.
Optionally, click the Manage icon in the sidebar to hide the sidebar while you work.
- Find the account that you need to disable.
You can click on any column header to sort information to find the account, or you can use the Search field at the top right of the page to search for text in any of the columns. Enter all or part of a word or name.

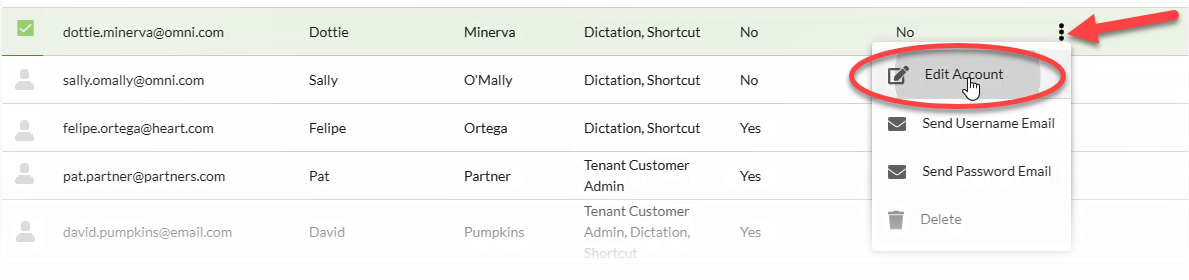
- Click the Actions menu
 and select Edit Account.
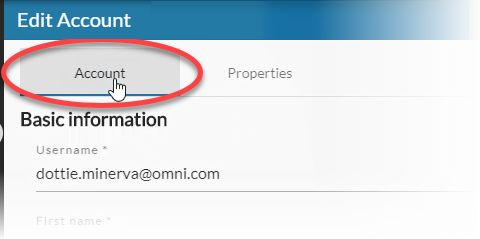
- Go to the Account tab on the Edit Account page.
- Slide the Enabled toggle off (white).
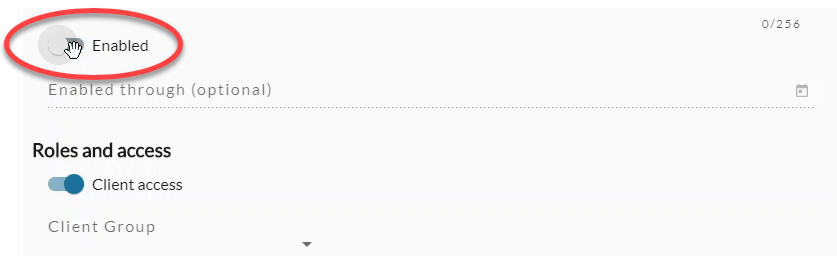
- This setting is disabled for auto provisioned accounts.
- Click the Save button at the bottom of the page.