Only administrators with an administrator role at the system level and customer tenant level administrators with access to Voice Assistant can see this page in nVoq Administrator.
Voice Assistant is offered as a premium feature and therefore is only visible to customers who have purchased it.
On the Add/Edit Assessment page, you can create or edit assessments that will be used with Voice Assistant in the future.
Add an Assessment
To add a new assessment, complete the fields on the page and click the Save button at the bottom of the screen.
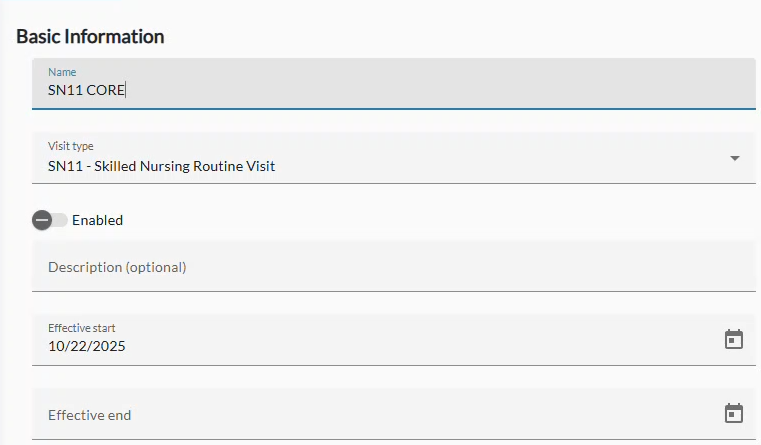
Basic Information
Name
Enter the name of your assessment.
Visit Type
Select a visit type from the drop-down menu. This menu is populated with visit types entered on the Visit Type tab.
Enabled
When enabled, the assessment is available for use in Voice Assistant (once the feature becomes available in Voice for Android, iOS, and Windows). Currently, the toggle does not affect functionality, as Voice Assistant integration is still in development. You can set it now to prepare for future use.
Description
You can optionally add a description of this assessment in this text area.
Effective Start
This is the date you want to begin using the assessment. The current date appears by default. To choose a different date, click the calendar icon and select the desired date.
Note that in this release, the date selected here does not control when the assessment becomes available! You can enable this assessment manually using the Enabled toggle.
Effective End
This is an optional date that the assessment should no longer be used. To choose a date, click the calendar icon and select the desired date.
Note that in this release, the date selected here does not control when the assessment becomes disabled! You can disable this assessment manually using the Enabled toggle.
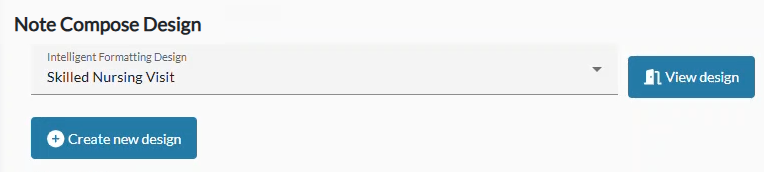
Note Compose Design
Note Compose Design (Menu)
From this menu you can select Note Compose designs that you have already created. See Note Compose Designer. Disabled designs appear in the menu but are grayed out and cannot be selected.
View Design
Click this button to see what your selected Note Compose Design looks like. On the screen that pops up you can click the Close button (to close the design view) or click the Copy As Starting Point button to open Note Compose Designer within the window where you can make changes to the design to create a new one. For more information about using the Note Compose Design, see Admin: Edit Note Compose Design.
Create New Design
Click this button to create a new Note Compose Design in a pop-up window on this page. Select from the following options:
Based On Example - Use an example of a clinical note that you want the formatting to follow.
Brief Description - Describe the type of clinical note you want the formatting to follow.
Manual Input - This is a free text field where you can create your own formatting design from scratch.
For more information about creating a new Note Compose Design, see Admin: Add Note Compose Design.
Assessment
Questions
On this tab you can view the questions that you uploaded for the given visit type.
You cannot delete a question file that has been uploaded.
Instead, you can upload a new file and it will replace the one on this tab.
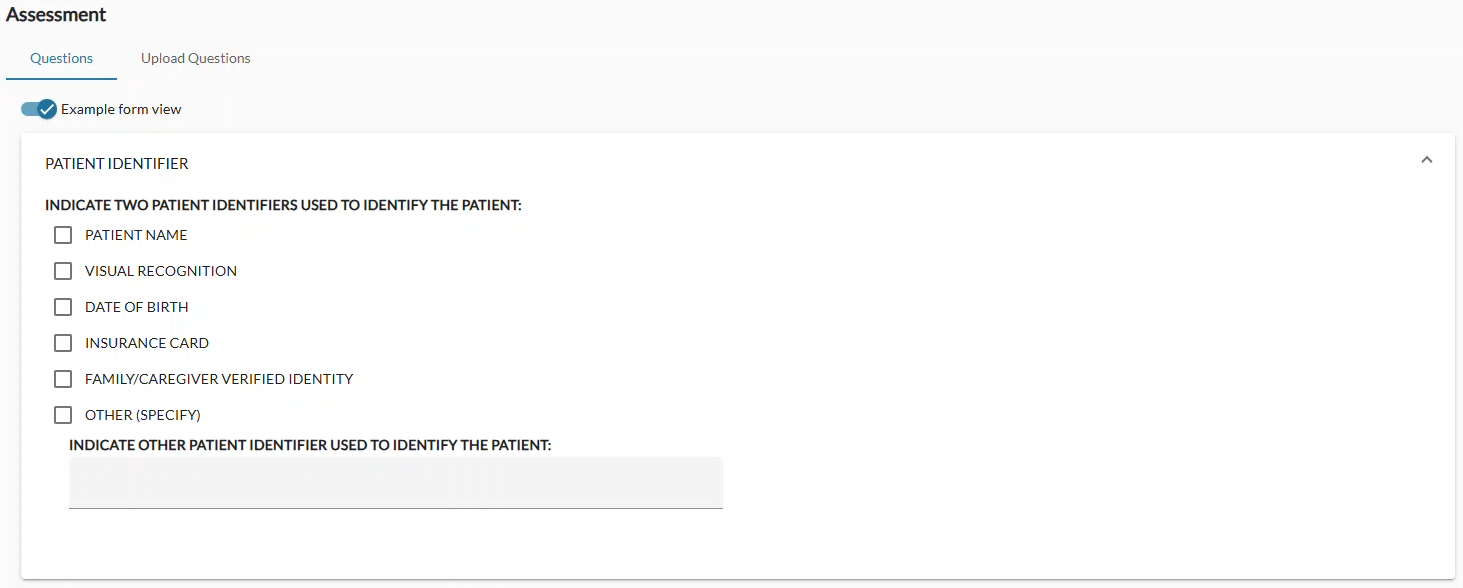
Example Form View
Use this toggle to switch between viewing the code view of the questions and the more easily-readable form view.
Upload Questions
On this tab you can upload the questions that appear in your assessment form software (such as HCHB) or that you have created in Generic JSON format for the given visit type.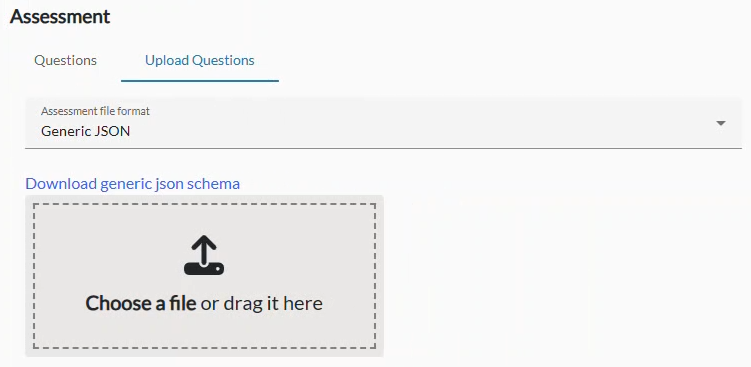
Assessment File Format
Use this menu to select the format of the file you will be uploading.
Generic JSON - JSON (short for JavaScript Object Notation) is a simple way for apps to share information. It uses plain text that’s easy for both computers and people to read.
HCHB - In HCHB, you can download a report called "Assessment Form Viewer Report" in Word .docx format to upload here. Be sure to select the correct service code.

Download Generic JSON Schema
Use this link to download a Generic JSON schema. This is a template that defines the structure and format your question file should follow. It acts as a blueprint, showing which fields to include, what type of information belongs in each field, and how the data should be organized. In JSON, information is written as pairs: a name and a value, like this: "name": "Alex" or "age": 30. Groups of these pairs are placed inside curly braces { } to form an object, and lists of items go inside square brackets [ ] to form an array. You can download the schema and update it with your own details to create a valid question file that the system can read correctly when you select "Generic JSON" on the Assessment File Format menu. The file is named assessments.schema.json.
Choose A File Or Drag It Here
Once you have your JSON or HCHB question file, upload it here by dragging the file into the box, or clicking the Choose a file link and navigating to the file on your computer.
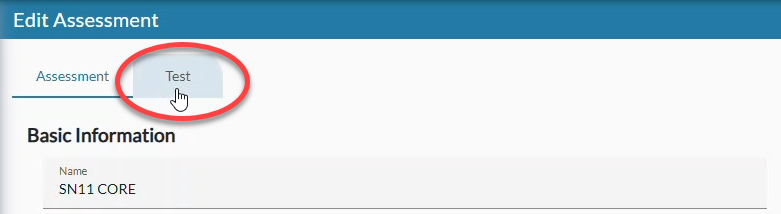
Test
On the Test tab, you can try out the questions in your assessment. The results currently appear in JSON format only, but a more user-friendly, readable view will be available in a future update.
(Note: To test your Note Compose design, see Add Note Compose Design - Test a Design.)
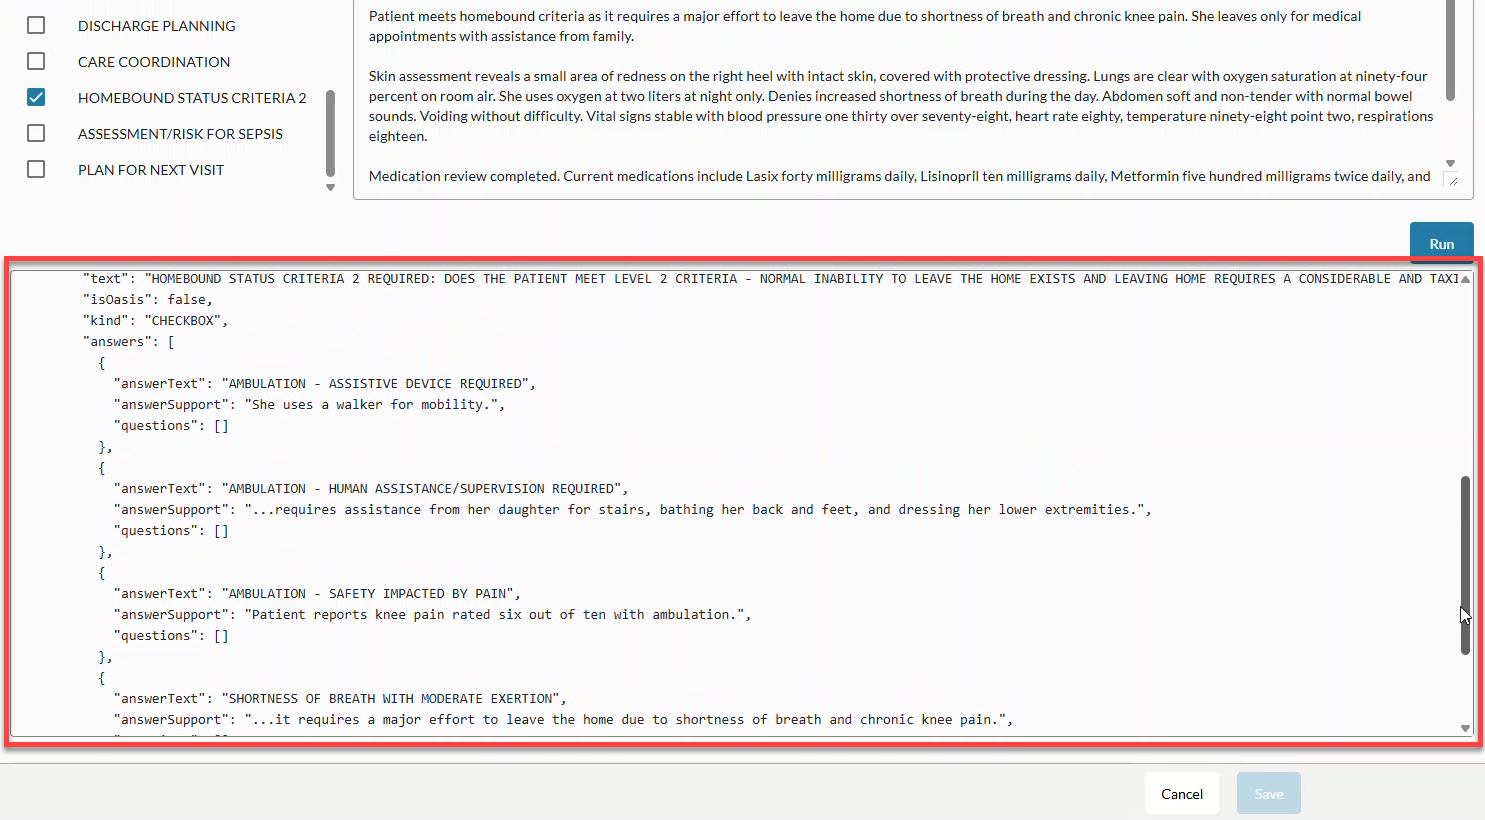
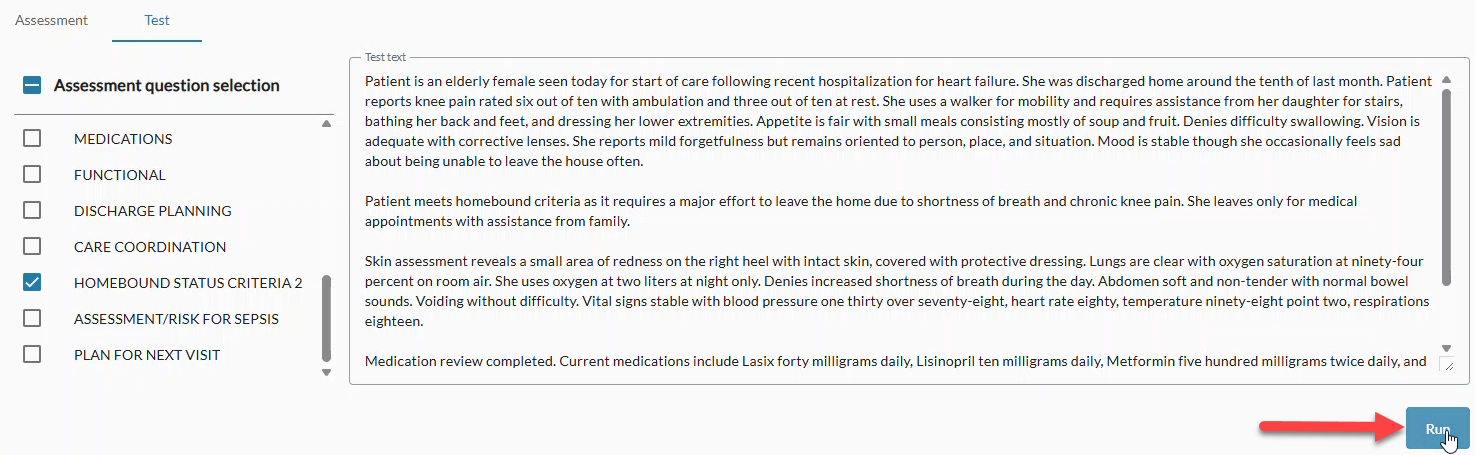
Click the Test tab.
Your questions are listed on the left side of the screen. Click the checkbox next to the question(s) you want to test OR check the checkbox next to Assessment question selection to select them all. Note: It may be easier to diagnose issues with the code if you test one at a time.
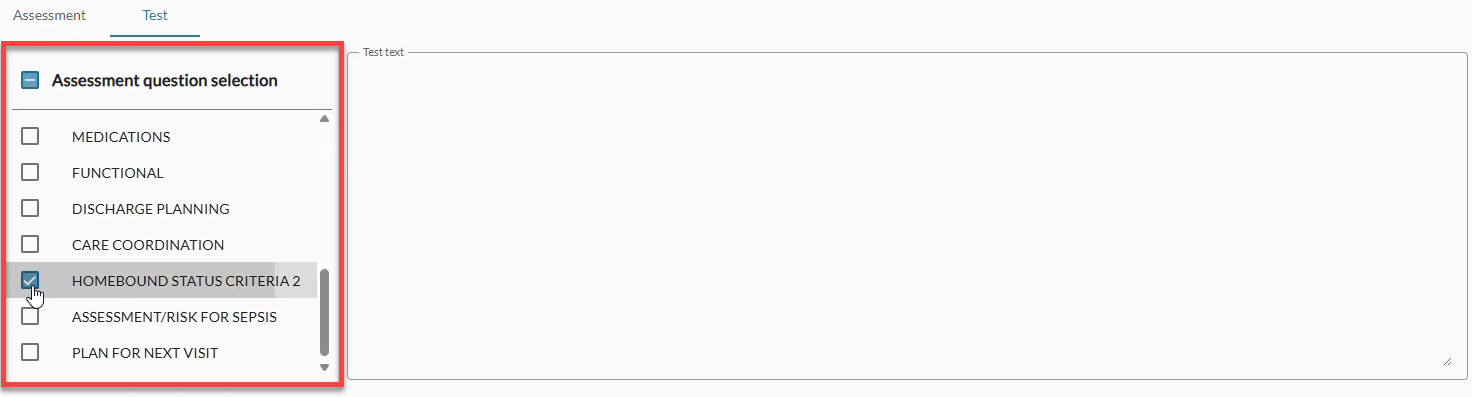
Paste the example transcript that you want to test against in the Test Text box.
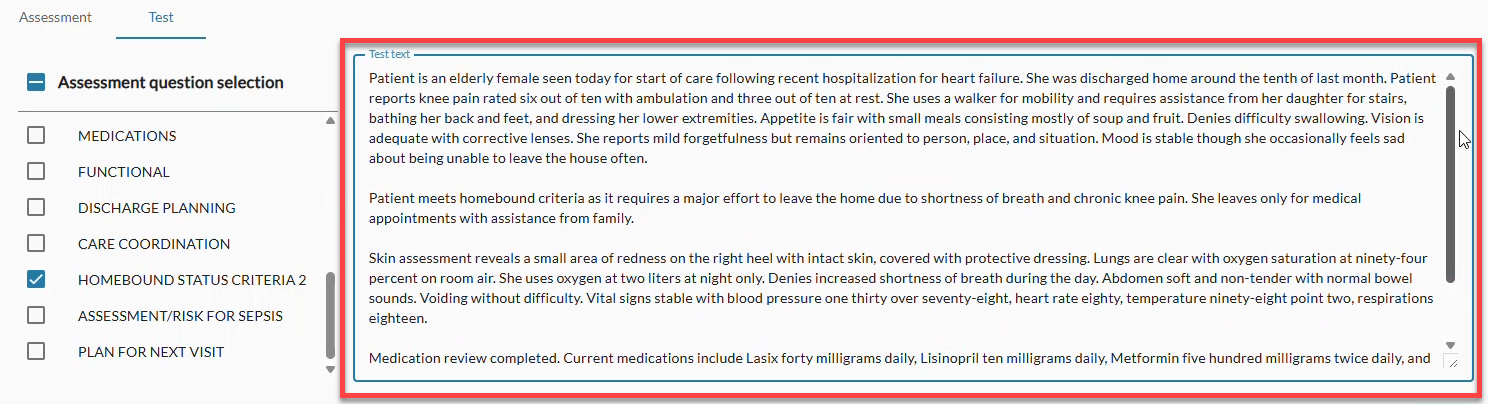
Click the Run button. It may take some time to run through the test of your assessment depending on how many questions you are checking and how long the test text is.
The JSON result appears in the box below the Run button. If necessary, use the scroll bar on the right side of the box to view the entire result.