Use this feature to export shortcuts and folders from one organization or account which you can then upload to another organization or account.
DO NOT OPEN THE DOWNLOADED FILE BEFORE YOU SAVE IT if the export includes HTML or Workflow Automation shortcuts.
Opening and then saving the downloaded shortcut CSV file in a spreadsheet application like Excel can "break" HTML or Workflow automation shortcuts within the file so that the file cannot be imported back into nVoq Administrator.
- Go to the Shortcuts page in nVoq Administrator.
- Optionally, click the Manage icon in the sidebar to hide the sidebar while you work.
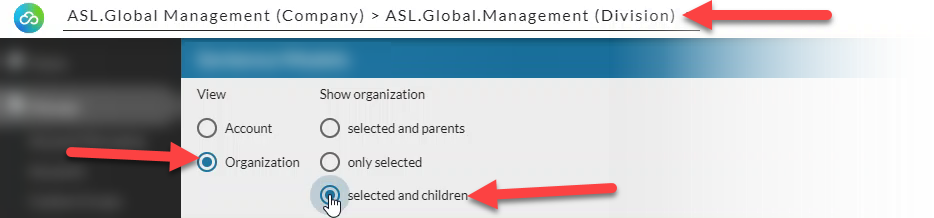
- Select the appropriate organization from the organization menu at the very top of the screen.
- Select the appropriate radio button to download shortcuts for an account or an organization:
Download Account Shortcuts
- Select the Account radio button.
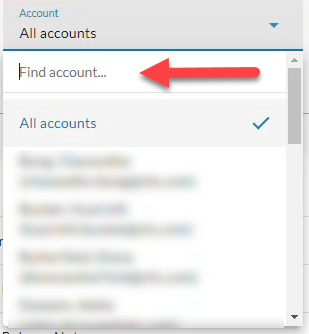
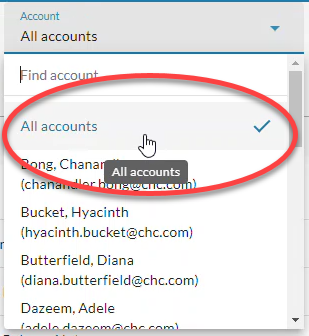
- Then select an account from the Account menu, or select All Accounts.
- The menu will display a maximum of 250 accounts. If there are more than 250 accounts in the selected organization, the bottom of the menu will say, "Showing 250 out of [#] possible accounts."
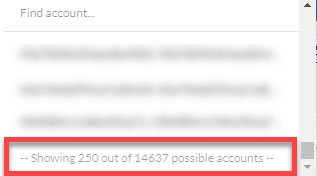
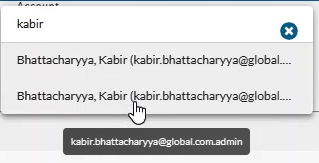
- To see shortcuts and folders for an individual user account, type part of the person's name in the the Find Account field. This will find any account that exists in the selected organization, even if it is not displayed in the menu.
- If the username is cut off, hover your mouse over the name to see the username in a tooltip.
- If you want to see all user account shortcuts and folders for all users in the organization selected at the top of the page, select All Accounts.
- The menu will display a maximum of 250 accounts. If there are more than 250 accounts in the selected organization, the bottom of the menu will say, "Showing 250 out of [#] possible accounts."
Download Organization Shortcuts
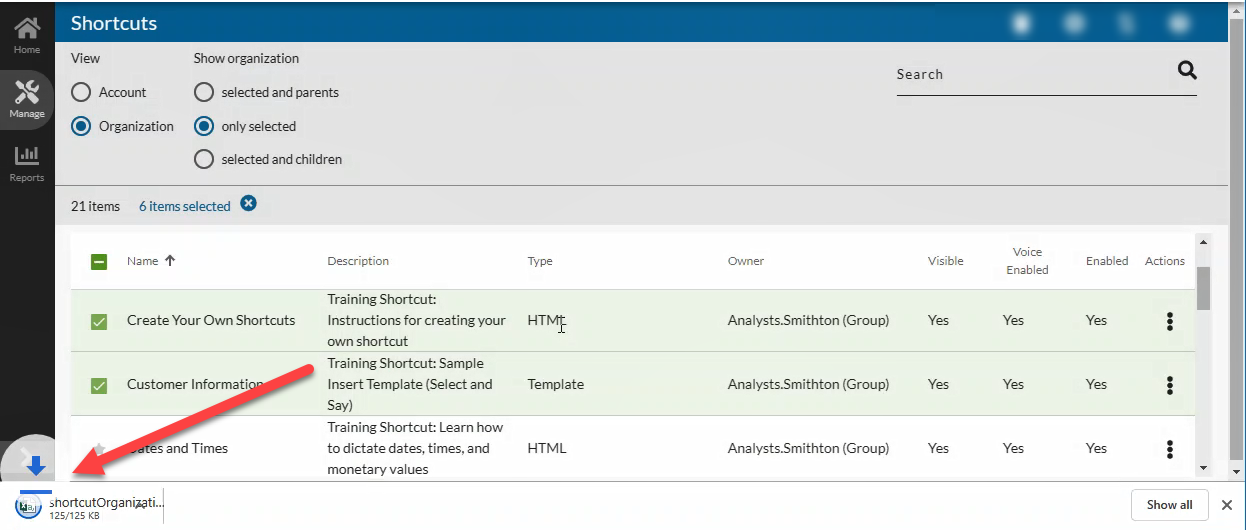
- Select the Organization radio button.
- Select the appropriate Show Organization radio button to view existing shortcuts for the selected organization.
- Choose selected and parents to see shortcuts and folders created for the organization selected in the Organization menu and all parent organizations above it.
- Choose only selected to see shortcuts and folders created for only the organization selected in the Organization menu.
- Choose selected and children to see shortcuts and folders created for the organization selected in the Organization menu and all child organizations below it.
- Optionally, select shortcuts and folders in the list that you want to include in the download. (If you select nothing, all shortcuts in the organization or account will be included in the exported file.)
- You can use the Search box at the top of the page to find certain shortcuts and folders.
- Click the star or folder icon to the left of a shortcut or folder to select a specific shortcut or folder for download. Once selected, the row turns green and there is a checkmark on the left side.
- You can select multiple shortcuts or folders by clicking on each icon and then perform actions available from the icons in the blue toolbar on all selected items.
- Click the download icon
 in the blue toolbar.
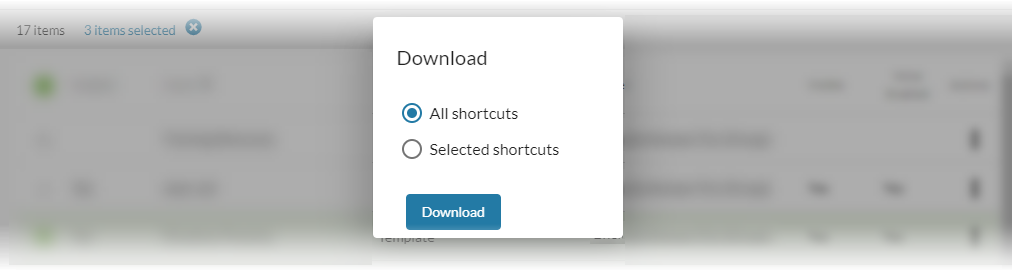
 - If you selected shortcuts and/or folders, a Download dialog will appear asking if you want to download All Shortcuts or Selected Shortcuts. Select the appropriate radio button and click the Download button.
- If you choose All shortcuts, the CSV file will include all folders and shortcuts in the account or in the organization selected at the top of the page regardless of what was selected.
- If you choose Selected shortcuts, the CSV file will only include the shortcuts or folders that you selected.
- A CSV file will download in your browser. DO NOT OPEN the CSV file if it includes HTML or Workflow automation shortcuts.
- The default file name for downloaded organization shortcuts will be shortcutOrganizationAll.csv.
- The default file name for downloaded account shortcuts will be shortcutAccountAll.csv.
- If you need help renaming the file without opening it, see Rename the Downloaded Shortcut File without Opening the File.
- Opening and saving the file in a spreadsheet application like Excel can "break" HTML or Workflow automation shortcuts within the file so that the file cannot be imported back into nVoq Administrator. If you need to EDIT HTML shortcuts, we recommend using nVoq Administrator. If you need to EDIT Workflow shortcuts, we recommend using something like Notepad++ to edit the AutoIt code.
- The download on your computer may look different depending on the browser you are using.
Rename the Downloaded Shortcut File without Opening the File (Windows)
- Navigate to the file location (for example, it may be in the Downloads folder).
- Right-click on the file in the directory and select Rename.
- With the name of the file highlighted, type a new file name.
- Be sure the file extension remains
.csv - Press Enter.