On the Tenants page you can see a list of tenants in the system, what Single Sign On identity provider is configured for the tenant (if any), the tenant creation date, and whether or not the tenant is enabled.
- If you're a system-level System Administrator you can see all of the tenants.
- If you're a system-level Customer Administrator you can see only the tenants to which you have been assigned Customer Administrator Access.
Tenants Page Toolbar

Delete 
When one or more tenants are selected in the list on the Tenants page, the delete (trash can) icon appears in the toolbar. Click the trash icon to delete the selected tenant(s). You will be asked to confirm that you want to delete the tenant before it is removed. See Delete a Tenant.
New 
Click on the plus symbol to create a new tenant. See Add a New Tenant.
Download 
Click on the download icon to download a .csv file spreadsheet that includes the Name, SSO Provider (if any), Creation Date, and Enabled status for all tenants or the tenants included in search results. Upload is not available for tenants.
Download the List of Tenants
- On the Tenants page, click on the download icon in the blue toolbar.
- A .csv file is downloaded in your browser. The file will include all of the tenants in the list that you see.
Support Center 
Click on the question mark icon in the blue bar to go directly to the online documentation for the Tenants page. The black question mark icon at the top right goes to the nVoq Administrator main help page.
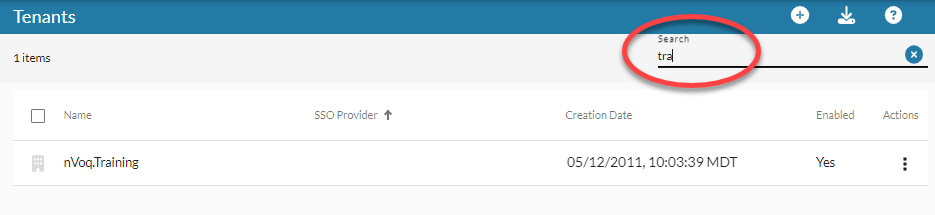
Search
Use the Search field at the top right of the page to search for text in any of the columns. Enter all or part of a word or name.
Tenants Page Columns

Building Icon / Checkbox
Hover your mouse over the building icon to put a checkmark in the box to select the tenant in order to perform an action on it from the blue toolbar. Once selected, the row turns green and there is a checkmark on the left side.
- You can select multiple tenants by clicking on each icon and then perform actions available in the blue toolbar on all selected tenants.
- You can select all tenants in the list by putting a checkmark in the box to the left of the column headers (above the building icons).
Name
The name of the tenant organization.
- You can use the Search field near the top-right (in the gray area) to search for an organization by name.
- Double-click on an organization name to edit the organization.
SSO Provider
The name of the SSO identity providers configured for the tenant, if any. If assigned more than one identity provider with the same name, that name is only listed here once. Information for each identity provider configured for the tenant is available on the Identity Providers page.
Creation Date
The date and time that the organization was created.
- The time is listed in 24-hour (military) format.
- You can use the Search field near the top-right (in the gray area) to search for a tenant by creation date.
Enabled
This column lists a "Yes" or "No" depending on whether the tenant is active (Yes) or disabled (No).
Actions
Click on the Actions icon![]() to open a menu and select an action to take with the organization.
to open a menu and select an action to take with the organization.
Possible actions may include:
- Edit Tenant - Open the tenant to configure settings. See Edit a Tenant.
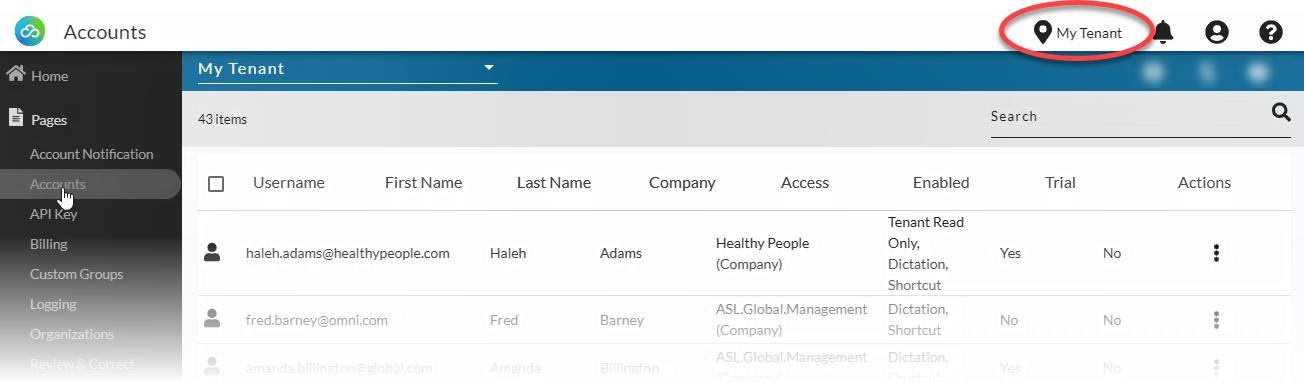
- Set Tenant Location - Select this tenant to view organizations, accounts, and resources configured under this tenant. See Set Tenant Location.
- Delete - Remove this tenant. See Delete a Tenant.
Set Tenant Location
Set Tenant Location to view organizations, accounts, and resources configured under this tenant.
- Under the System section at the bottom of the left-side menu, click on the Tenants page.
- Find the tenant in the list. Optionally use the search field to search by Name, Creation Date, or Enabled (yes or no).
- Click on the Actions menu
 and select Set Tenant Location.
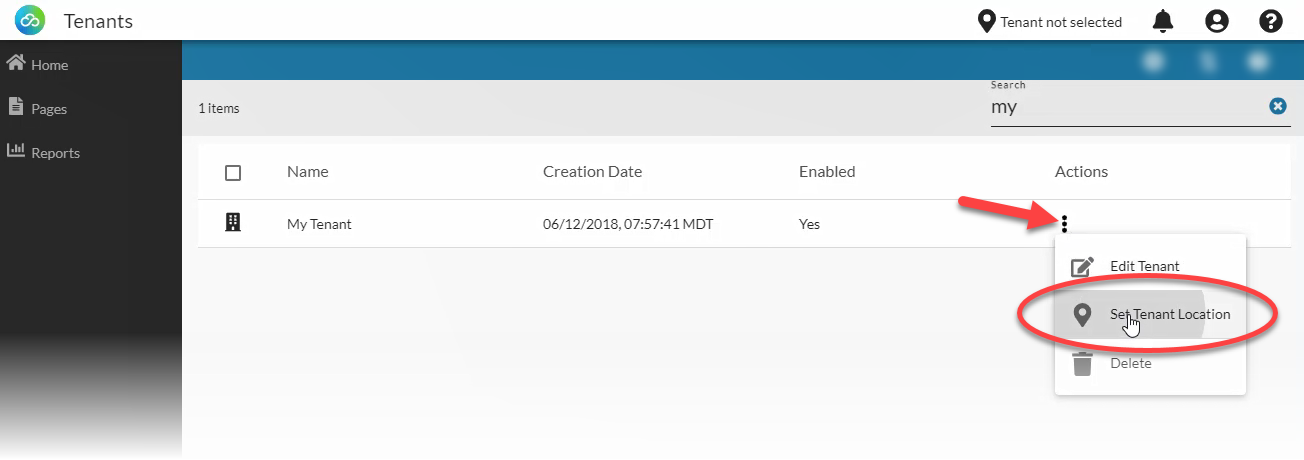
- The selected tenant will appear in the location field near the upper right of the screen, and any of the pages under Manage or Reports that you view will pertain to this tenant.