Use dictation to record your notes and have Voice type them directly into your application.
Place your cursor where you want text to be transcribed.
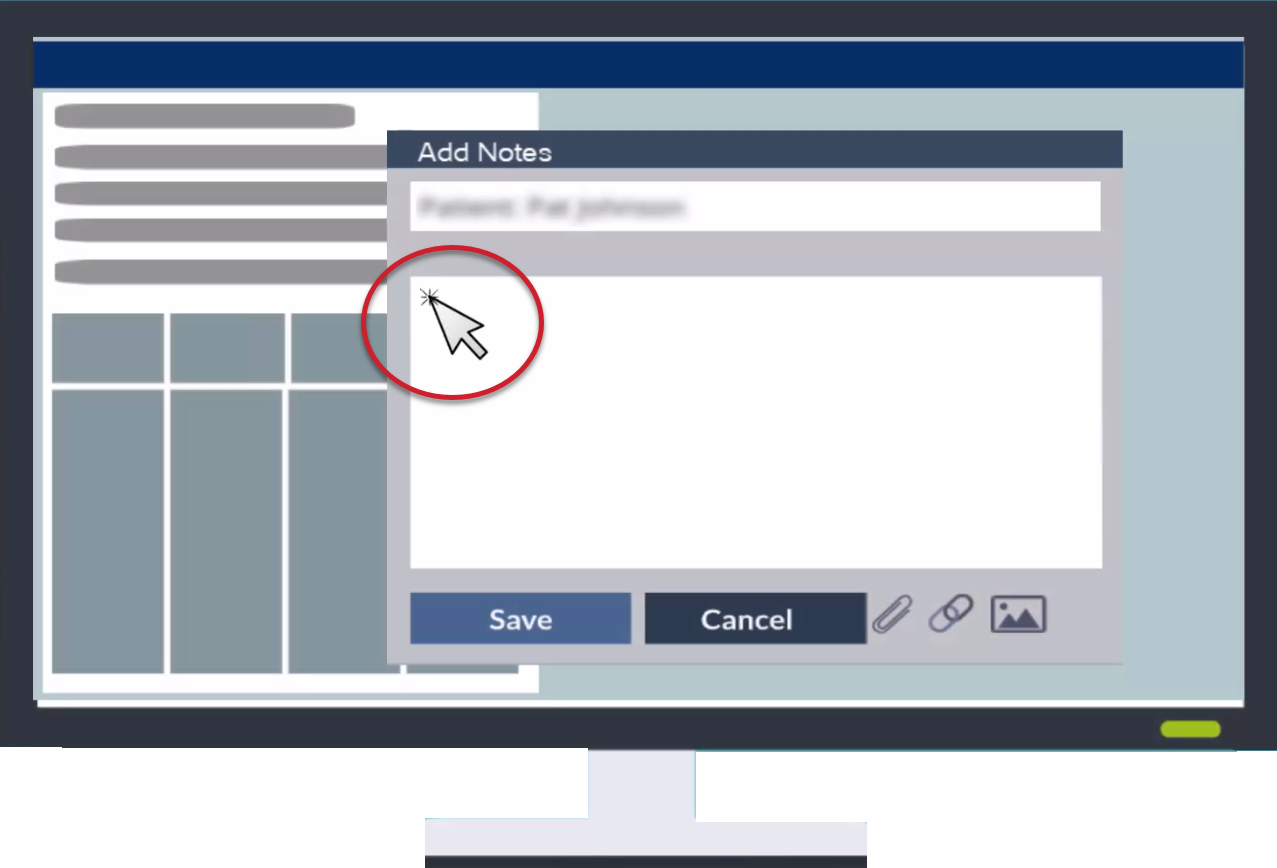
Click the dictation button on screen with your mouse (or press and release the hotkey on your keyboard) to start recording.
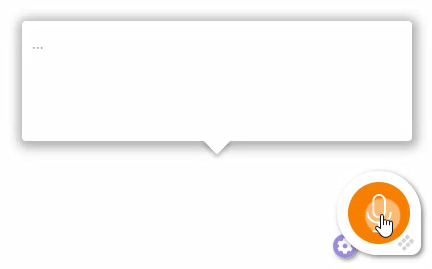
The dictation button on screen turns orange while recording.
By default a speech bubble appears above the button. Inside the speech bubble, a flashing ellipses (...) lets you know the application is listening. You can turn off the dictation speech bubble on the Settings menu.
Do NOT hold down the button or hotkey while you record. Just press and release. If you do hold down the button while recording, a message appears near the system tray that tells you not to hold it down.
The default hotkey is the F2 key. To change your hotkey, see "Dictation Hotkey" on the Settings menu.
Voice should automatically use the microphone that is set as your computer's default microphone for recording dictation. If there is no microphone, the dictation button may be gray and there will be a warning that no microphone was detected. For more information, see "Microphone" on the Settings menu. (You can still use the nVoq Wireless Microphone as your recording device when this button is gray. To do so, make sure that Wireless Microphone on the Settings screen is enabled. See Settings)
If you're using the nVoq Wireless Microphone, you will need to tap the dictation button in the app to dictate.
If you get a message stating that you account is forbidden, your account was configured without Client Access.
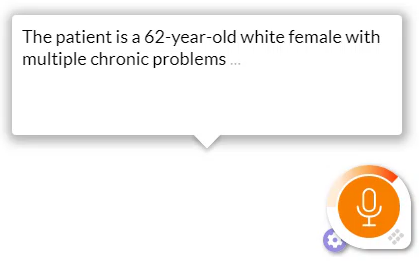
Say your dictation.
An audio meter appears in the border above the dictation button while you speak.
By default, your dictated text appears in the speech bubble above the dictation button. You will not see a speech bubble if it has been turned off (see Settings).
For tips on how to get the best accuracy and how to add things like carriage returns, quotation marks, and capitalization, see nVoq Dictation.
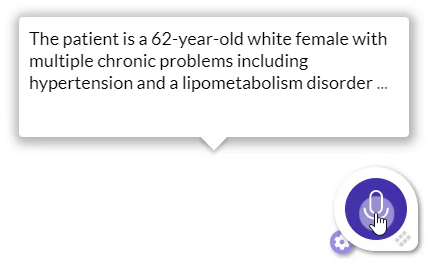
Click the dictation button on screen with your mouse (or press and release the hotkey on your keyboard) to stop recording.
The dictation button turns purple again when not recording.
If you're using the nVoq Wireless Microphone, tap the dictation button in the app again to stop dictation.
See Dictation for Wireless Microphone for iOS or Dictation for Wireless Microphone for Android
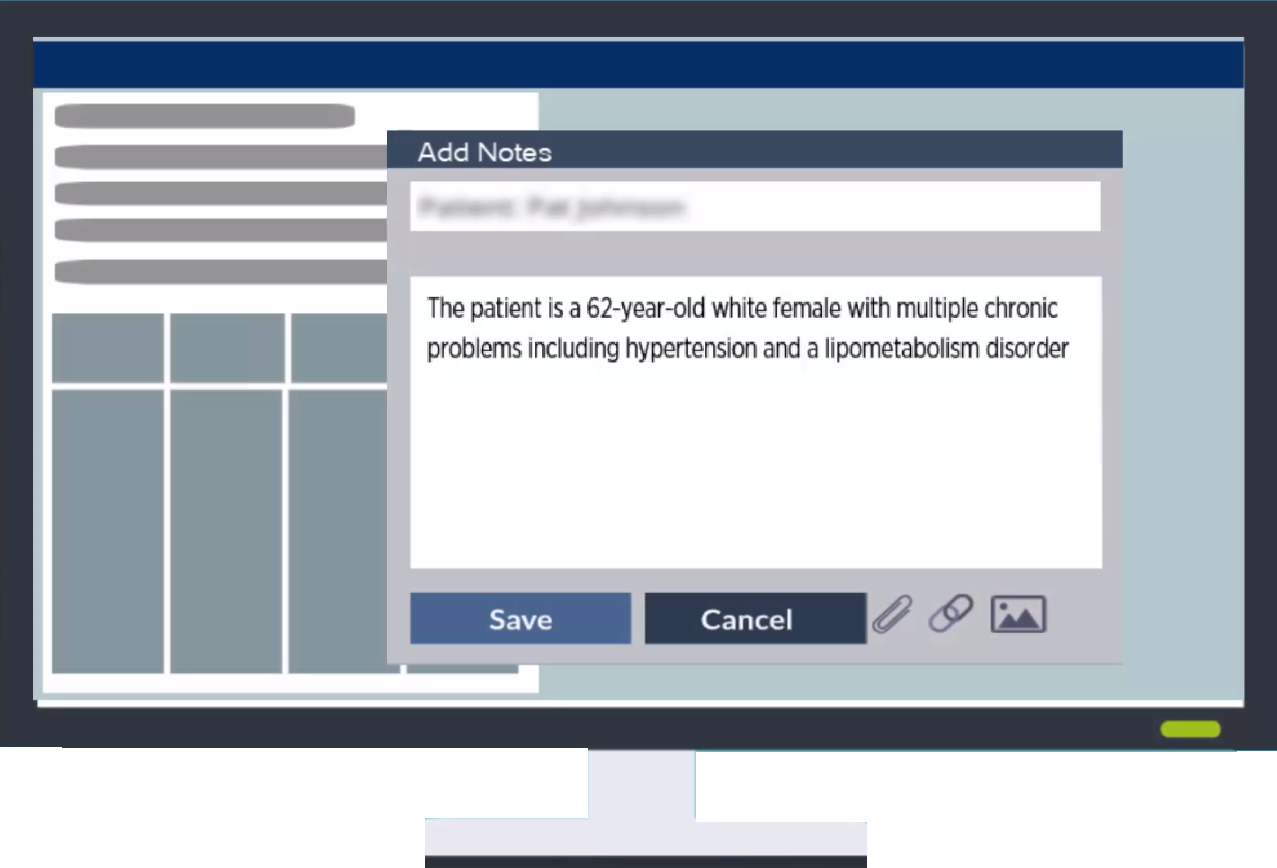
Your dictated transcript appears where you placed your cursor.
If the cursor is moved to a different text area during dictation, the transcript is pasted at the new cursor location.
Once your transcript has pasted into the text field you can review it and make any necessary corrections by typing on your keyboard or dictating. Highlight the text you want to replace and then type or dictate over it.
Transcribed text is also pasted to your clipboard and, in the event that your transcript was not pasted automatically into your application, you can use Ctrl+V (or right-click and select Paste) to paste the text from your clipboard into your application.
To see what's on your clipboard on Windows press the Windows key + V and see everything you dictated or copied from all programs. Click on the one you want to paste.
If network connection is lost during a dictation, the dictation button stays orange (although no recording is occurring). Any dictated text that was captured prior to network disconnection is pasted at the cursor location. When network connection is reestablished, the button goes back to purple and dictations start to work again.
If the network connection is blocked completely when the dictation button is pressed, the button turns orange but the dictation is not transcribed or recorded.
If your recording includes too much silence (180 seconds is the default), the dictation server will automatically stop processing the dictation. When that happens, Voice stops the recording and displays an error message stating, "Low audio detected. Dictation stopped due to long period of silence." The dictation is then marked with an error in Review & Correct that states, "Stopped dictation due to silence exceeding 180 seconds." ("Silence" in regards to this error means the absence of words, so could include noises and sounds that are not interpreted as words.)
In order to protect our resources, we currently only allow a maximum of eight (8) dictations to to be processed by our server for a single user at one time. If more than the maximum number of dictation requests are made, you will get an error.
By default Voice dictations use WebSocket connections unless recorded using the Android Wireless Microphone app, in which case they automatically use HTTP. (The iOS Wireless Microphone uses WebSocket connections unless otherwise specified by API.)